QloApps PayTabs Payment Gateway
The QloApps PayTabs Payment Gateway Module enables your business to accept online payments through PayTabs, a globally trusted payment solution.
With this integration, you can provide a fast, secure, and seamless checkout experience to your guests.
PayTabs supports multiple payment methods and a wide range of international currencies, making it a strong choice for hotels serving both local and global customers.
This allows businesses to expand their reach and accept payments from guests across different regions without any hassle.
Note: PayTabs is a registered payment gateway widely used across regions like the Middle East, Asia, and other international markets.
Supported Currencies: SAR, AED, BHD, EGP, EUR, GBP, HKD, IDR, INR, IQD, JOD, JPY, KWD, MAD, OMR, PKR, QAR, USD
Ensure your business is registered with PayTabs and the payment methods supported in your region are enabled before enabling live transactions.
Features of QloApps PayTabs Payment Gateway Module
- Easily integrate PayTabs with your QloApps booking system
- Supports multiple payment methods, including cards and other PayTabs-supported options
- Accept payments in multiple international currencies
- Provides a secure and encrypted payment environment
- Ensures a smooth and user-friendly checkout experience for guests
- Automatically updates booking status based on payment success or failure via webhook
- Supports both Sandbox (testing) and Production (live) environments
- Dedicated transaction panel for admins to view all payments
- Detailed transaction view with complete payment and customer information
- Easy refund management with Full Refund and Partial Refund options
- Allows admins to enter custom amounts for partial refunds
- Maintains refund history for better tracking and transparency
- Reliable payment processing with global reach for international bookings
How to Install QloApps PayTabs Payment Gateway
Installing the QloApps PayTabs Payment Gateway Module is quick and straightforward. Follow the steps below to get started:
- Go to the “Modules and Services” tab in your QloApps admin panel.
- Click on “Add New Module”.

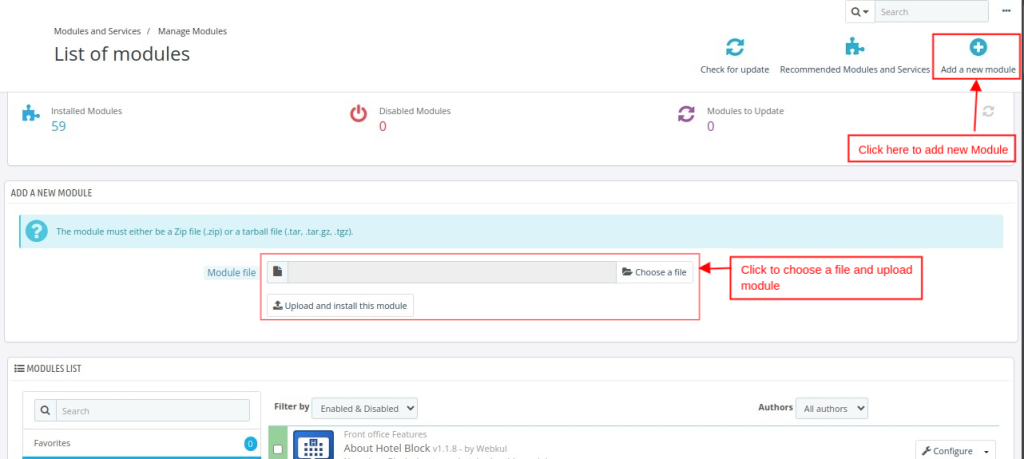
- Click on “Choose a file” and upload the module ZIP file.
- After selecting the file, click on “Upload this module”.
Once the ZIP file is uploaded, the installation process will begin automatically.
How to Configure QloApps PayTabs Payment Gateway
- Log in to your QloApps Admin Panel.
- Navigate to Modules & Services

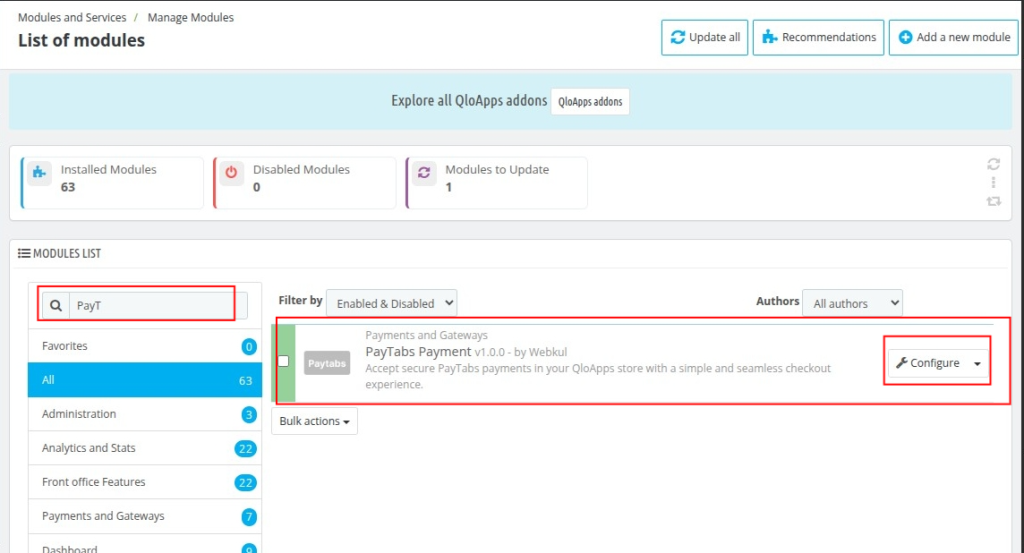
- Then Search for your Module in Module List
- Click on Configure
The admin must complete credentials and general settings to configure this module properly.
Configuration Setting
Once you open the configuration panel, you will find multiple fields that need to be filled correctly to enable PayTabs payments.

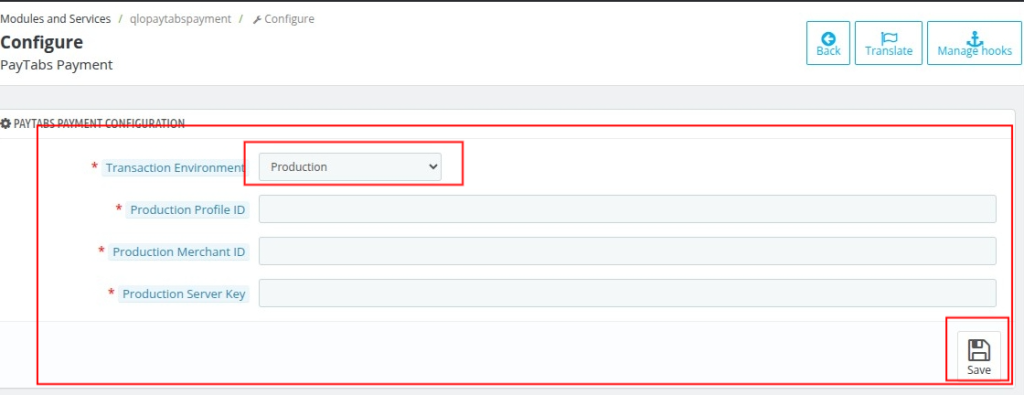
- Environment: Defines the operational mode of the payment gateway
- Sandbox (UAT): Used for testing transactions without real money
- Production: Used for live transactions with actual payments
- Production Profile ID: A unique profile identifier provided by PayTabs for your business account
- Production Merchant ID: A unique merchant identifier assigned by PayTabs to process and track transactions
- Production Server Key: A secure API key provided by PayTabs used to authenticate payment requests between QloApps and PayTabs
How Admin can get credentials details for QloApps PayTabs Payment Gateway
To integrate PayTabs with QloApps, the admin needs to obtain API credentials from the PayTabs merchant dashboard.
Steps to Get PayTabs API Credentials
- Login or Register on PayTabs
- Visit: https://merchant-global.paytabs.com/merchant/login
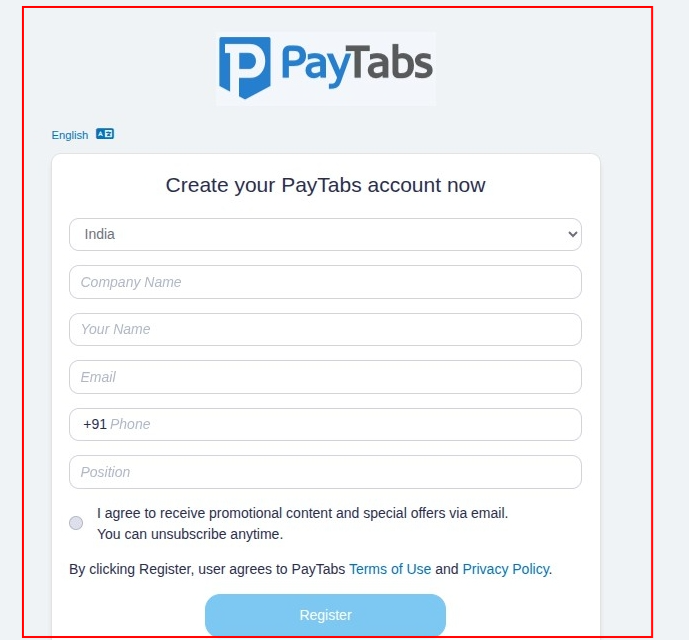
- If you are a new user, click on “Need an Account? Sign up”

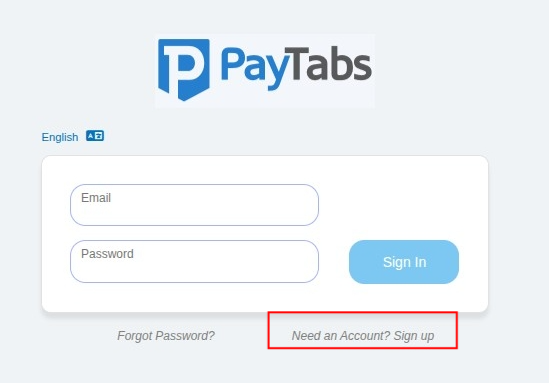
- Or register directly here: https://merchant-global.paytabs.com/merchant/register
- Fill in the required business details and complete the registration process

- Access PayTabs Dashboard
- After successful registration, log in to your PayTabs merchant dashboard

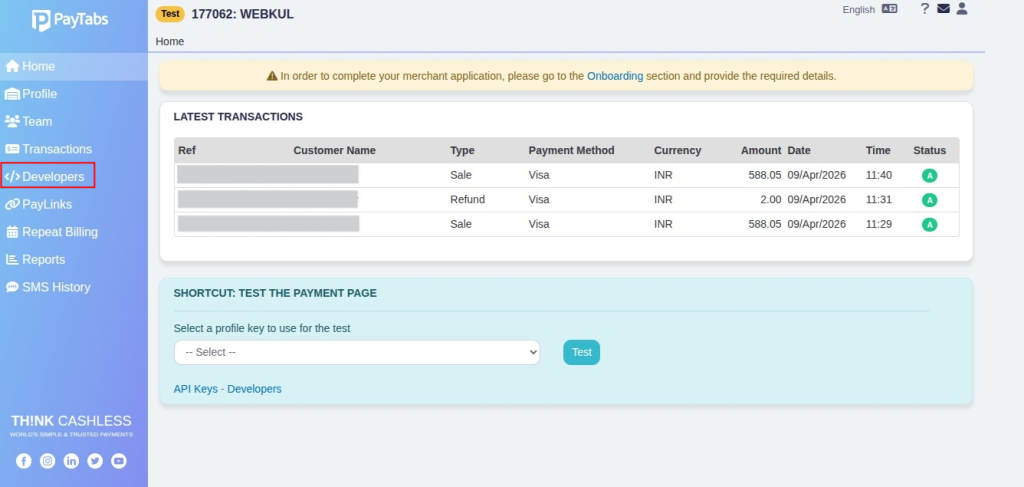
- Navigate to Server Keys
- Go to Key Management under API Keys

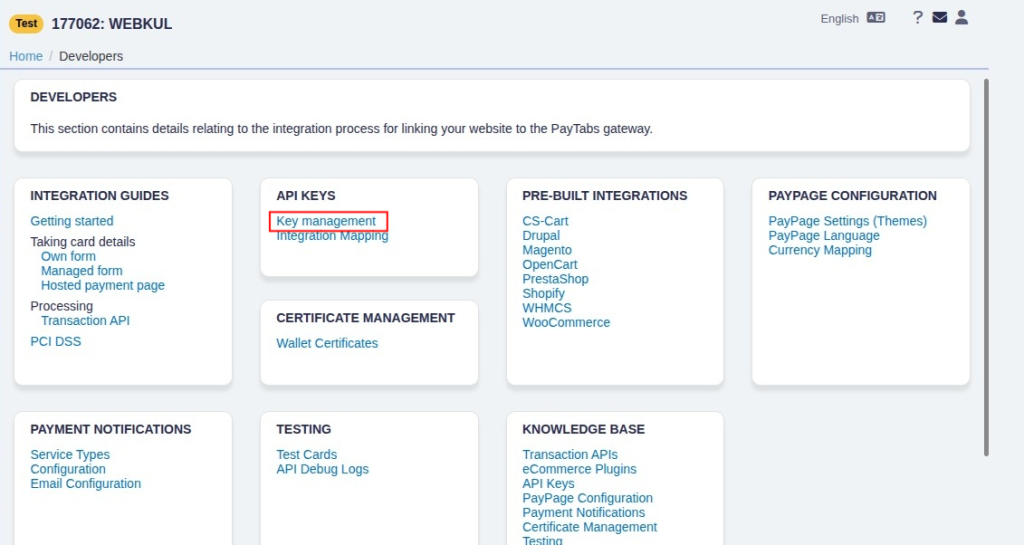
- Click on “Add New Key”
- Generate a new API key

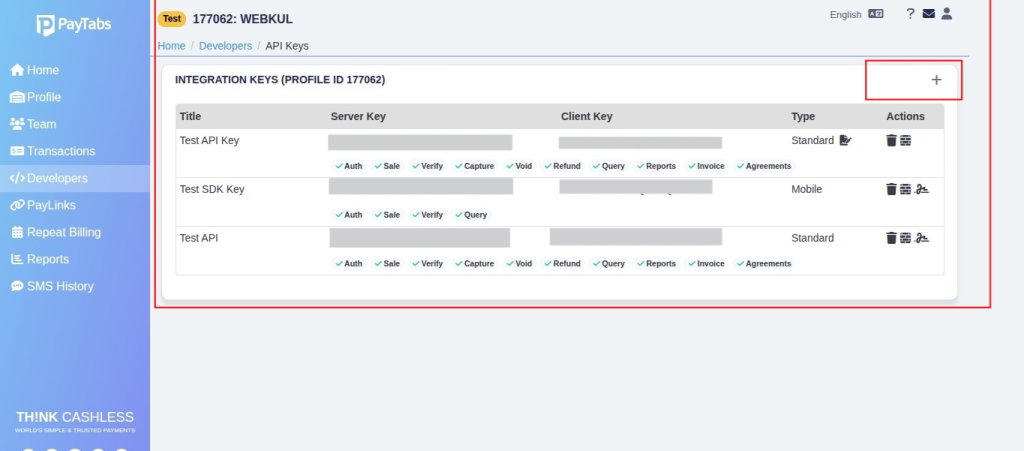
- Collect Required Credentials
- After creating the key, you will get: Server Key, Client Key
- Get Profile ID and Merchant ID
- Navigate to Profile in the PayTabs dashboard
- Here, you will be able to see your:
- Profile ID
- Merchant ID

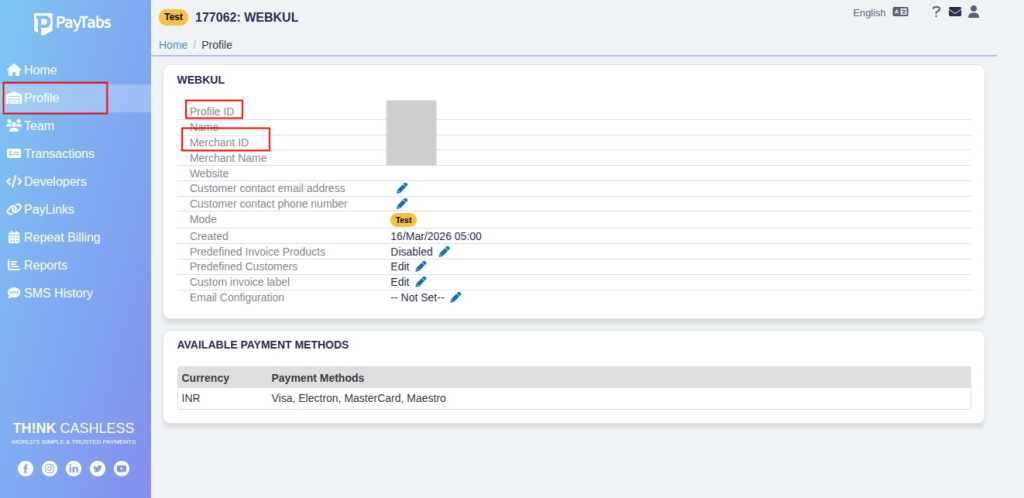
Copy these details and enter them in the PayTabs module configuration in QloApps.
How Admin can view all QloApps PayTabs Transactions
Admins can easily track and manage all PayTabs transactions directly from the QloApps back office.
Steps to Access Transactions
- Log in to your QloApps Admin Panel
- Navigate to PayTabs Payment Tab
- Click on Transactions

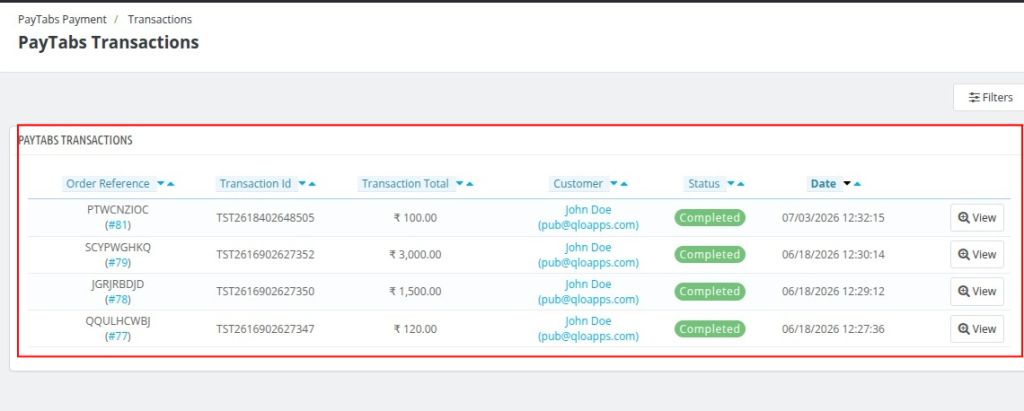
Transaction List Overview
Once you open the transactions page, you will see a list of all payment records with the following details:
- Order Reference: Unique booking/order ID associated with the transaction
- Transaction ID: Unique payment ID generated for the transaction.
- Transaction Total: Total amount paid by the customer.
- Customer: Name and email of the guest who made the booking.
- Status: Shows the payment status, such as Completed, Pending, or Failed
- Date: Date and time when the transaction was completed.
How Admin can view QloApps PayTabs Transaction Details View
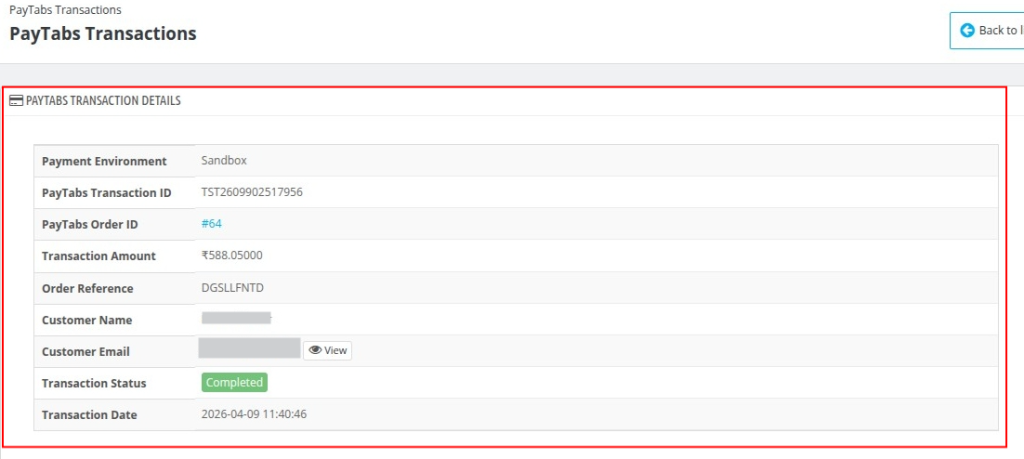
When the admin clicks on “View” in the Transactions page for a specific transaction, a detailed transaction page opens where complete payment information and refund options are available.
Displays complete transaction information such as:
- Payment Environment: Indicates whether the transaction was made in Sandbox or Production mode (e.g., Sandbox)
- PayTabs Transaction ID: Unique transaction ID generated by PayTabs.
- PayTabs Order ID: The unique identifier for the transaction in PayTabs.
- Transaction Amount: Total amount paid by the customer.
- Order Reference: Unique booking reference ID in QloApps.
- Customer Name: Name of the guest who made the booking.
- Customer Email: Email address of the guest.
- Transaction Status: Shows the current status of the payment.
- Transaction Date: Date and time when the transaction was completed.
How Admin Can Manage QloApps PayTabs Refund Management
Admins can also process refunds directly from the transaction detail page under PayTabs Transaction Tab:
- Refund Options
- Full Refund
- Partial Refund(In case of Partial Refund, admin can enter the specific amount to be refunded
- Remark Field: Add a note (e.g., cancellation reason)
- Process Refund Button: Initiates the refund request

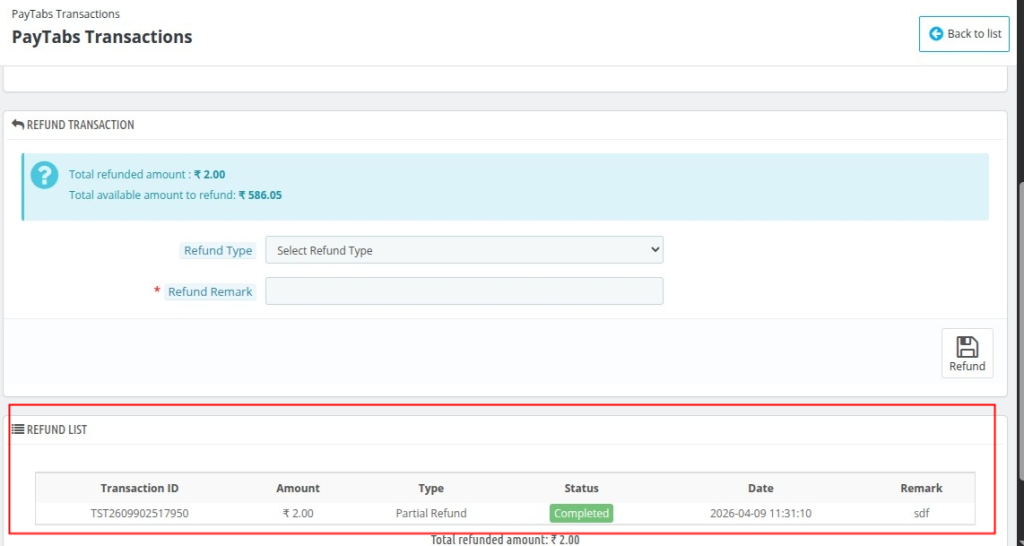
Refund History
- Displays all refund records associated with the transaction
- Transaction ID: Unique ID of the transaction against which the refund is processed
- Amount: The refunded amount
- Type: Indicates whether the refund is Full or Partial
- Status: Shows the refund status, such as Completed, Pending, or Failed
- Date: Date and time when the refund was initiated or processed
- Remark: Additional note or reason provided for the refund
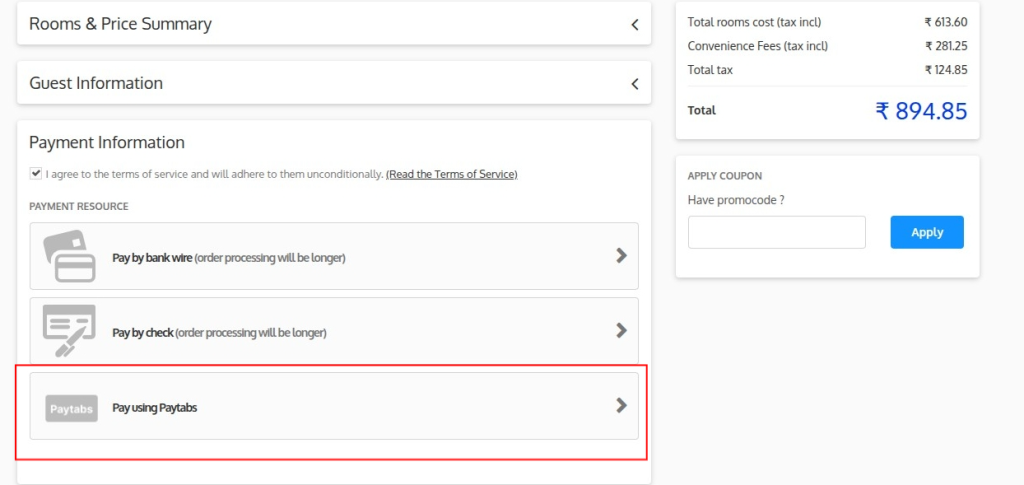
Frontend Payment Flow (Guest Experience)
The QloApps PayTabs Payment Gateway ensures a simple and fast checkout experience for guests booking rooms.
- Guest selects the desired room, dates, and proceeds to the booking checkout page
- Guest fills in required details such as name, email, and contact information
- Selects PayTabs Payment Gateway from the available payment options.

- QloApps redirects the guest to the PayTabs payment interface
- Complete Payment Using Preferred Method

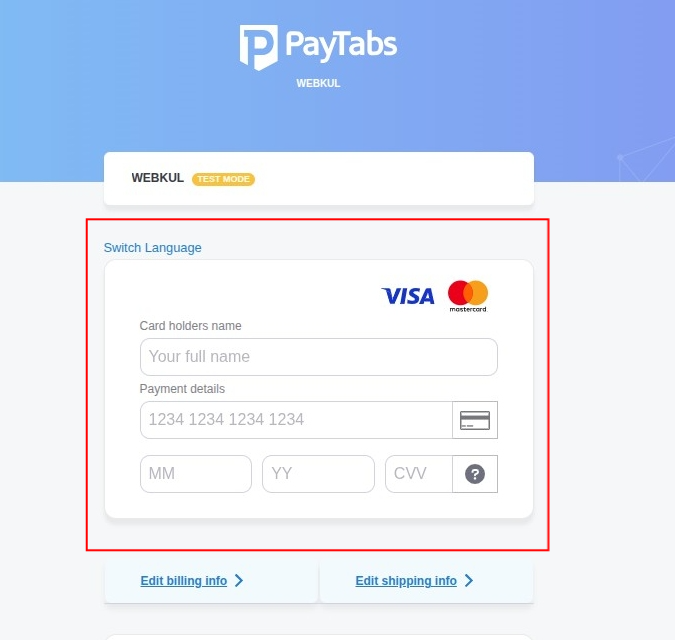
- After successful payment, QloApps redirects the guest back to the website.
- Then, QloApps confirms the booking based on the payment status.
Conclusion
The QloApps PayTabs Payment Gateway Module provides a secure and efficient way to manage online payments for QloApps.
Additionally, it supports multiple currencies, ensures reliable transaction processing, and delivers a smooth checkout experience.
Moreover, admins can manage everything through an easy-to-use backend. They track transactions, view detailed payment information, and handle full or partial refunds with proper records.
As a result, it improves both guest satisfaction and operational efficiency.
Current Version: 1.0.0
Supported Framework 1.7.x & 1.6.1