QloApps Translations empowers you to translate your website into any of your desired languages. You can use this feature to give your hotel website your words.
With the help of translations, you can alter any text and show it in your desired language.
So let us see, how translations work in QloApps.
Modify Translations
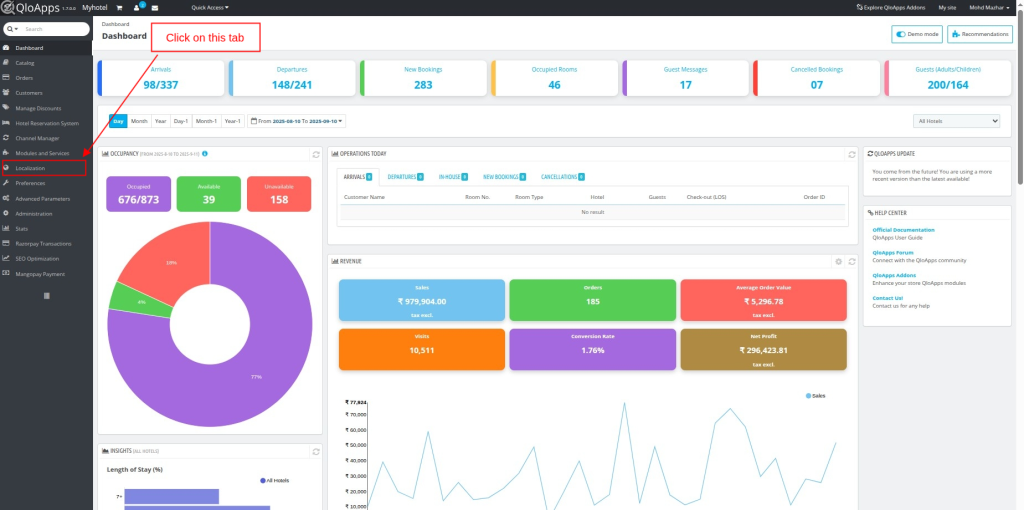
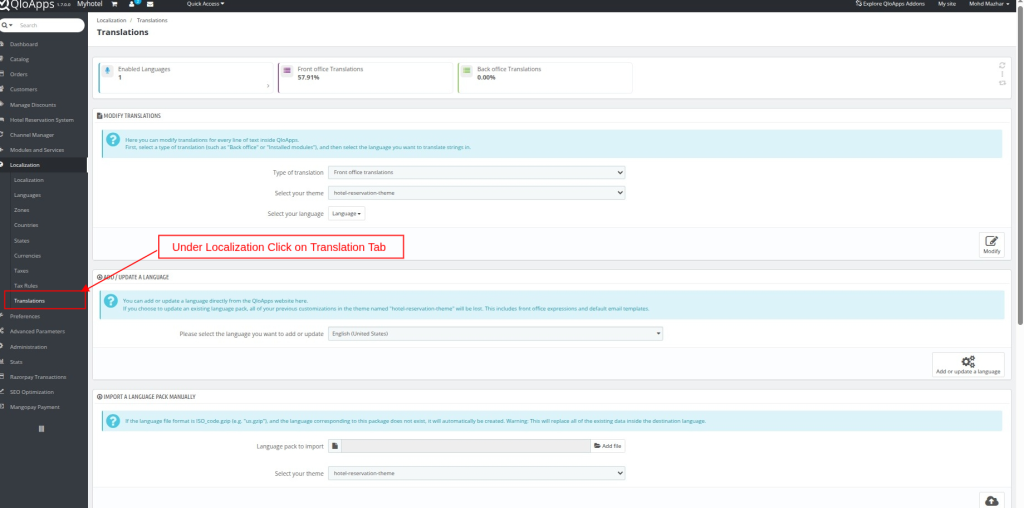
To modify the translation you need to go to Localization Tab and then click on the Translations in the drop-down.
After that, you will be on the translation page. On this page, you can see Modify Translation panel.
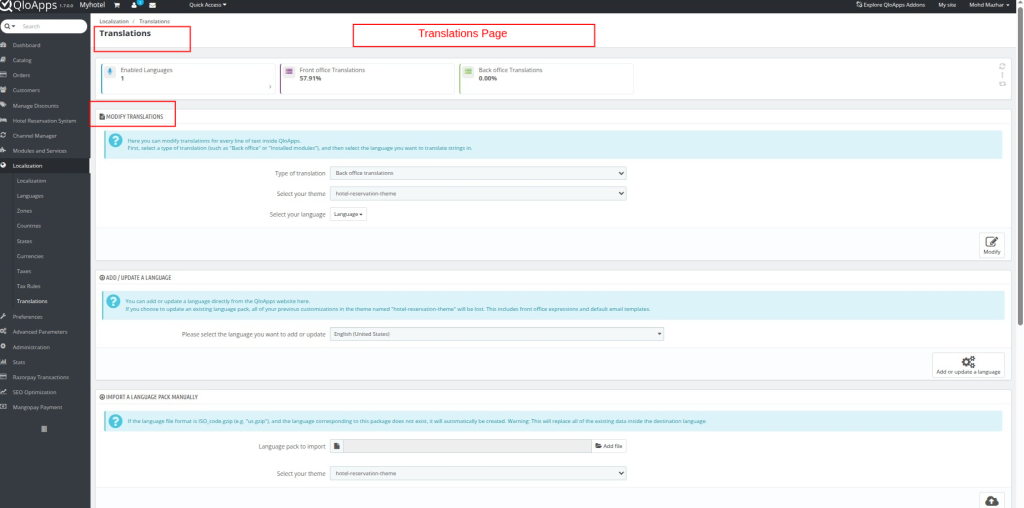
In this section you will find three fields:
- Type of translation
- Select your theme
- Select your language
In the Type of translation there basically seven options for you to select.
- Front Office translations. Translate the front office fields of your website that are visible to your customer.
- Back Office translations. Translate the fields at the back end of your website. These fields are visible to you and your hotel staff.
- Error message translations. To show your error messages in your words.
- Fields Names translations. Translate the field names at both the front and back end.
- Installed Module translations. To translate the fields in the modules you have installed. Only installed modules will be available in this field.
- PDF translations. By this field, you can translate the fields used in the PDFs generated in your website like Invoices.
- E-mail template translations. In this, you can translate the e-mails templates that are sent from your website
Then you will have to select the theme of the website which is a hotel theme by default. After that select the language in which you want to make the translation.
After selecting these fields you will be taken to the new page where you will all the strings which you can translate according to your choice.
The translation page will have all the strings that can be translated.
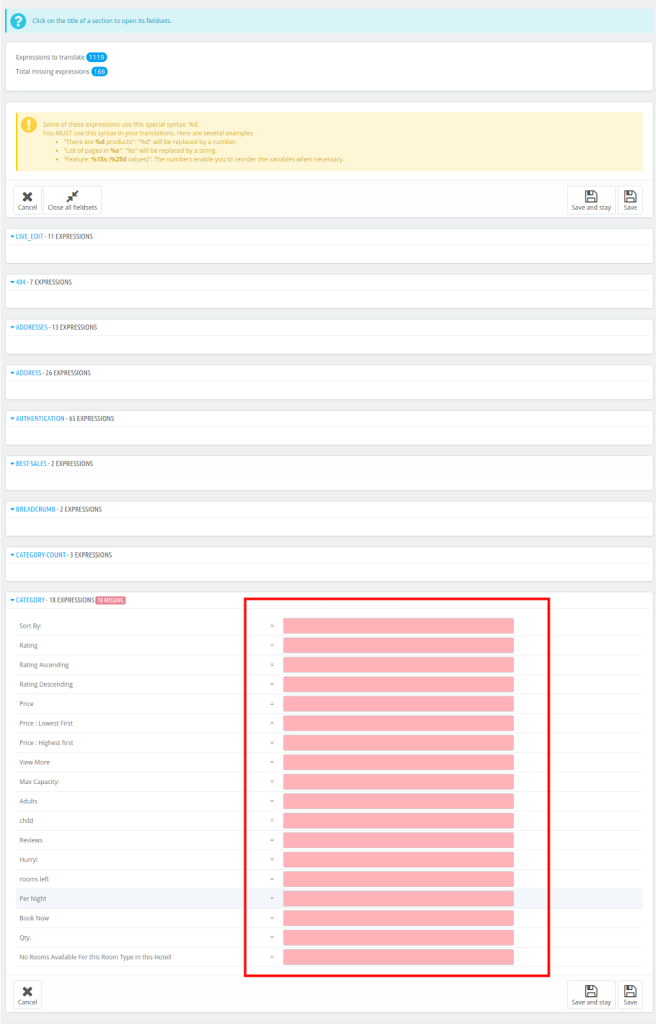
By default, only the fieldsets with untranslated strings will be open.
If you want to open all of them then click on the button on the top left twice: once to close all of them, and once more to expand them all.
You can also open and close fieldsets one by one by clicking on their title.
Editing a Translation
Editing the translation is very easy. You just have to follow the three basic steps.
- Open the fieldset you want to translate,
- Edit the content according to your choice,
- Then Click on either the “Save and Stay” button to save and keep translating more. Else click on the “Save” button to update the translations. After that, return to the main “Translations” page.
Now In some of the strings, you will find a caution sign.

This sign indicates that this string has a placeholder. This means that you cannot change the position of this placeholder while making the translation.
In the above screenshot, the %s is the placeholder. So if I want to translate the above field into French then I will do it as follows:
Order Reference %s – placed on = Ordre Référence %s – placé sur
As you can see that the position of %s does not change.
All the fields can be translated in the same way. But the E-mail template translations is the exception.
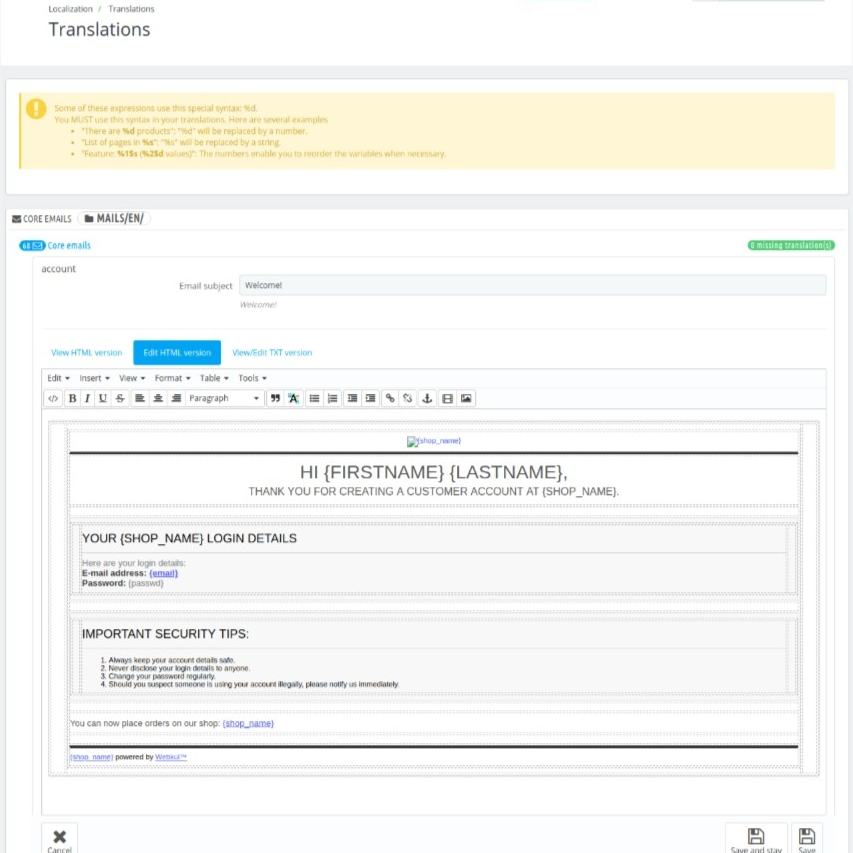
E-mail template translations
In E-mail template translations you will not only text fields but also HTML fields. Emails have two templates one HTML and the other text.
The HTML one is styled and colored, and the next one is plain and simple.
You can edit text fields directly while the HTML can be edited by clicking on Edit HTML Version.
Add/Update a Language
You can download a language pack directly from this section. These are packs are in the form of zip files.
You do not have to worry about anything the system will download the language pack, unpack it and create the correct sub-folder in your installation’s /translation folder.
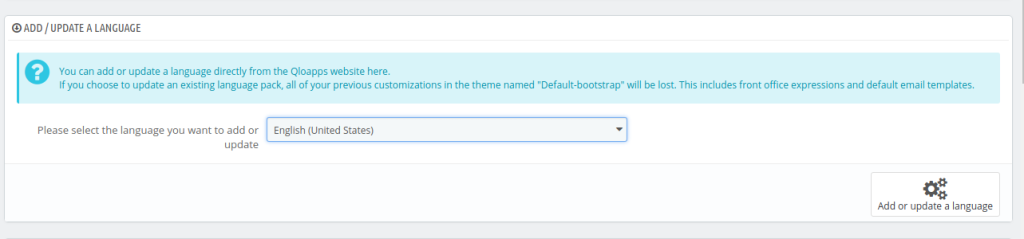
You can also update the currently install languages but any change that you might have made to your own translations will be lost once you update it.
Import A Language Pack Manually
When you do not want to use the default language pack and want to use another language pack that is from another resource then you can import it from here.
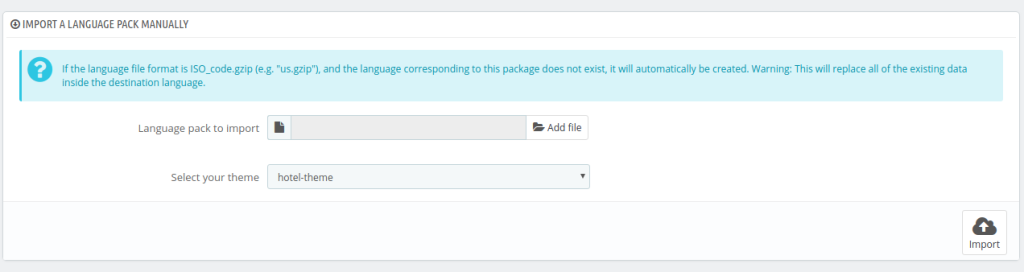
Here, from Language Pack To Import Add the file then Select Your Theme. Finally, click on Import.
Export A Language
You can export the language pack also. By this, you can take the backup of your translations or use your translations on other QloApps websites.

Just select your Language, then Select Your Theme from drop down the Export.
Copy
You can Copy the translated fields from one to another.
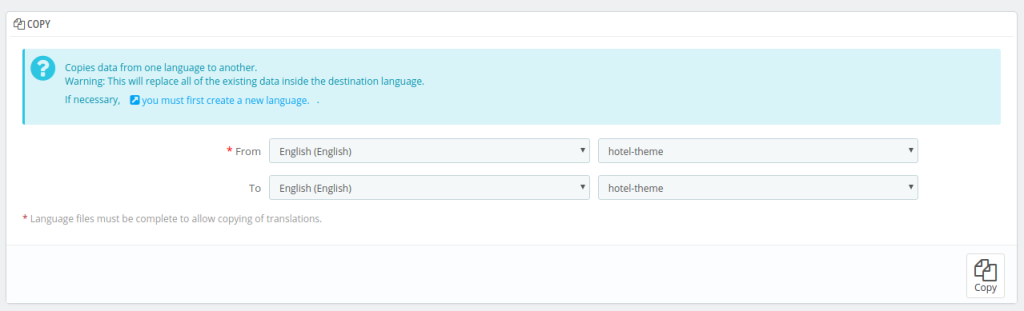
Note: copies data from one language to another.
Warning: This will replace all of the existing data inside the destination language.
Support
That’s all from “Managing Translations in QloApps”.
If you want to learn more about QloApps Channel Manager, then click here.
If you want to learn about the functionality of QloApps, then visit the link: QLO Reservation System – Free Open-Source Hotel Booking & Reservation System
In case of any query please feel free to raise it on QloApps Forum

Be the first to comment.