A watermark protects your images by stopping others from stealing or using them without permission.
Moreover, competitors in the same industry might take your images and use them without your approval.
Therefore, you must clearly establish authority over your products by using a watermark.
The QloApps Watermarked Images Module helps you achieve this by allowing you to add watermarks to various types of images displayed on your front office website.
Features of QloApps Watermarked Images
- This module offers a user-friendly experience and exceptional versatility.
- You can easily upload any image of your choice to use as a watermark.
- Additionally, you can add a watermark to various types of images in your store without any hassle.
- Choose from multiple positions on the image to place the watermark precisely where you want it.
- Furthermore, adjust the rotation value to set the desired angle for the watermark.
- Finally, customize the opacity value to control the transparency level, ensuring the watermark blends seamlessly with your images.
How to install QloApps Watermarked Images
The installation of any module is very simple in QloApps.
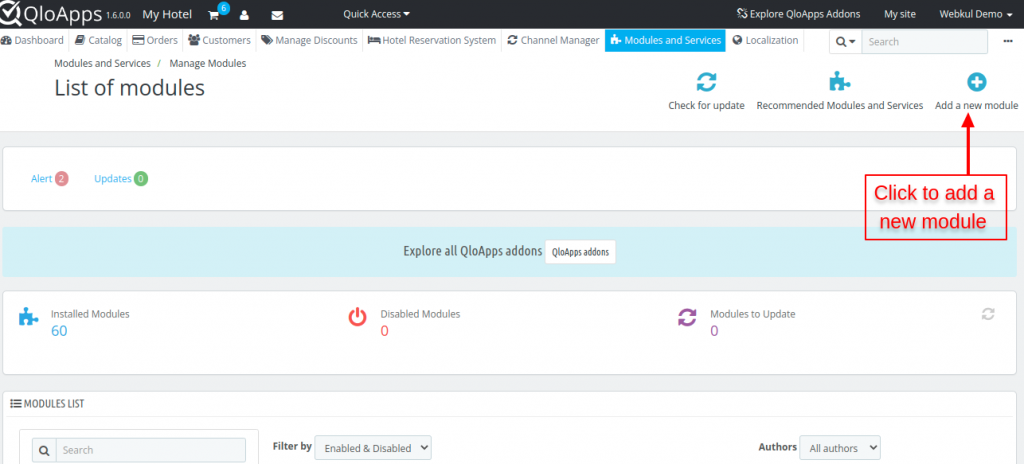
- Go to the Module and Services tab
- Click on Add New Module
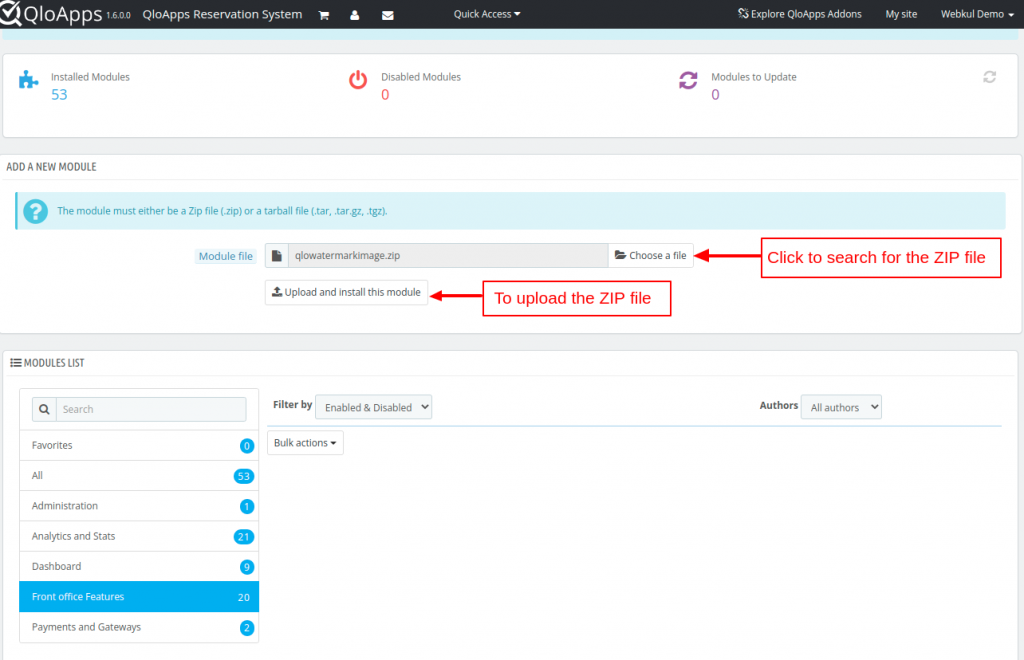
Click on Choose a file and upload the zip file for the module.
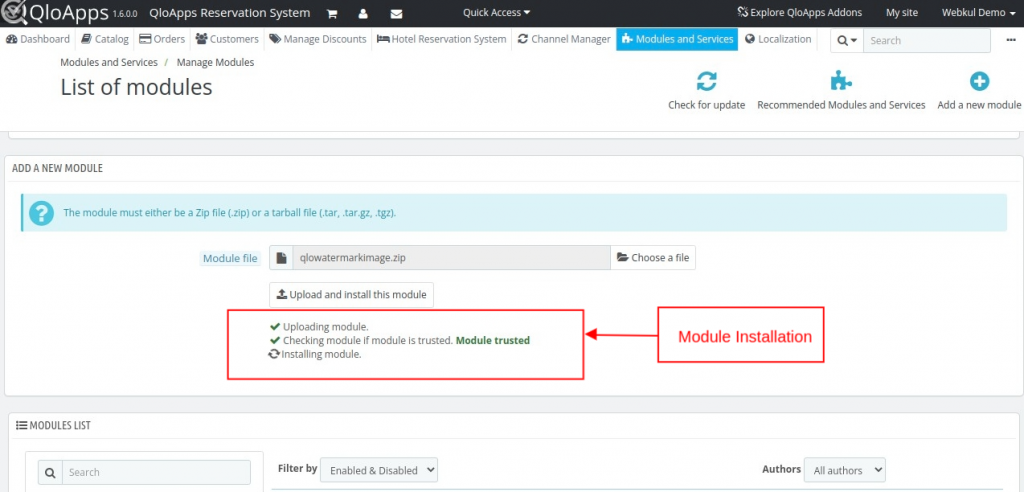
After uploading the ZIP file the module will start installing automatically.
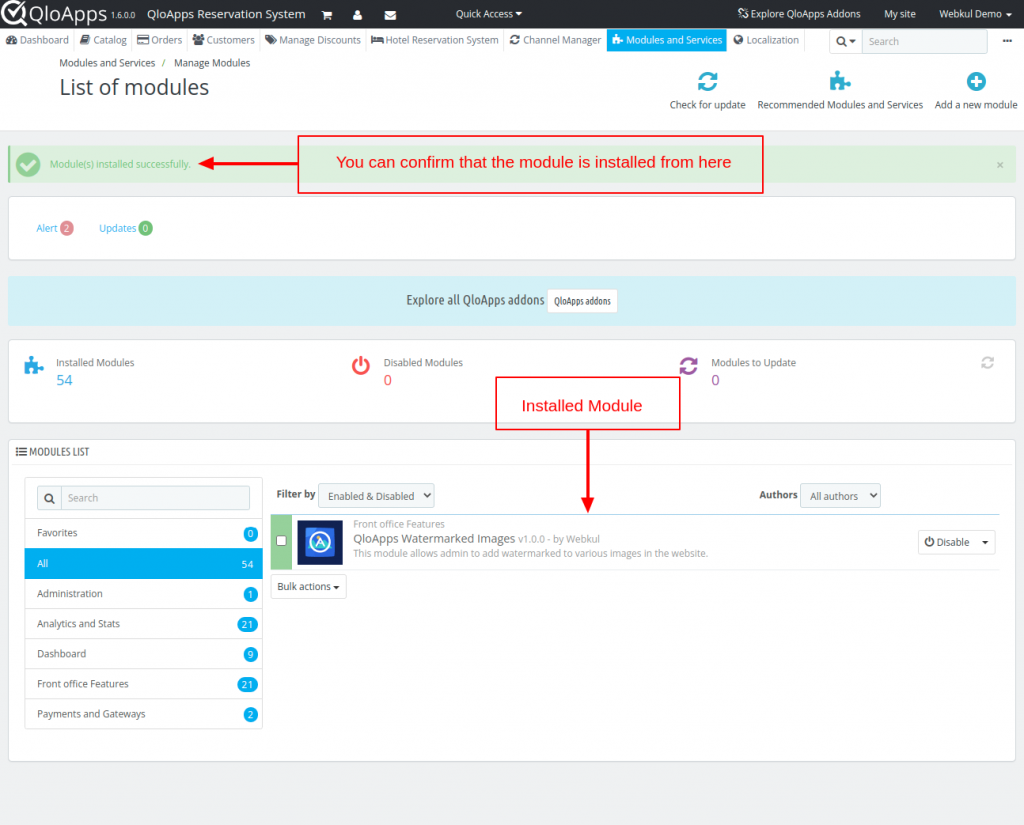
Once you install the module, you will see a prompt confirming the successful installation. Additionally, the installed modules will appear listed below for easy reference.
How to configure the QloApps Watermarked Images
After you complete the installation, the system adds a new tab labeled ‘Watermarked Images’ for easy access.
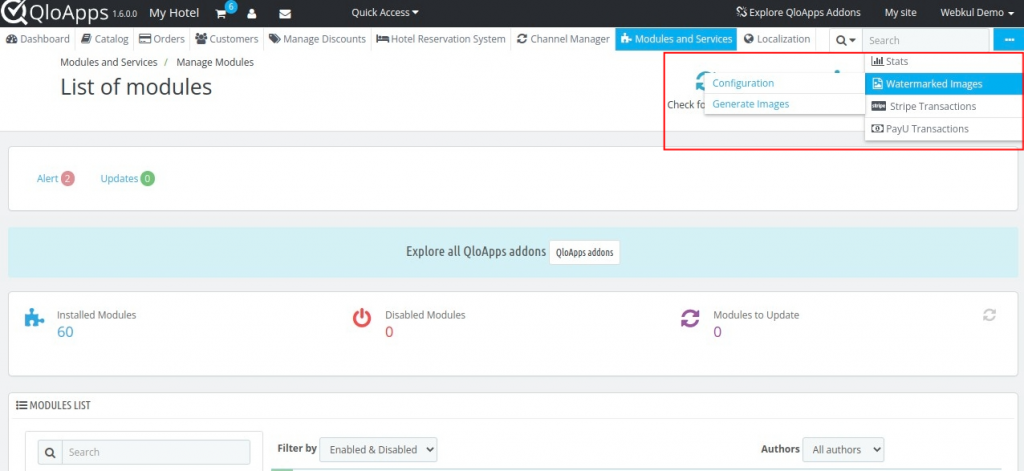
The user can configure the watermarked images from Back office > Options > Watermarked Images > Configuration
In the configurations tab, the user can upload the image (and then configure the settings that will be used to generate the watermarked images) which has to be configured for the watermark.
After uploading the image, the user can see the following options for configuring:
- Position: The user can choose from the following for the watermark’s position
- Center
- Top
- Botton
- Left
- Top Left
- Top Right
- Bottom Left
- Bottom Right
- Rotation Degree: The user can enter the degree from 0 to 360 to rotate the watermark image.
- Horizontal Offset: It is used to move the watermark from the starting position. The user can add the % of the width of the base image.
- Vertical Offset: It is used to move the watermark from the starting position. Users can add the % of the height of the base image.
- Relative height of watermark: The user can add the height in % of the base image which is to be covered by the watermark image.
- Relative width of watermark: The user can add the width in % of the base image which is to be covered by the watermark image.
- Opacity: The user can set the transparency of the watermark.
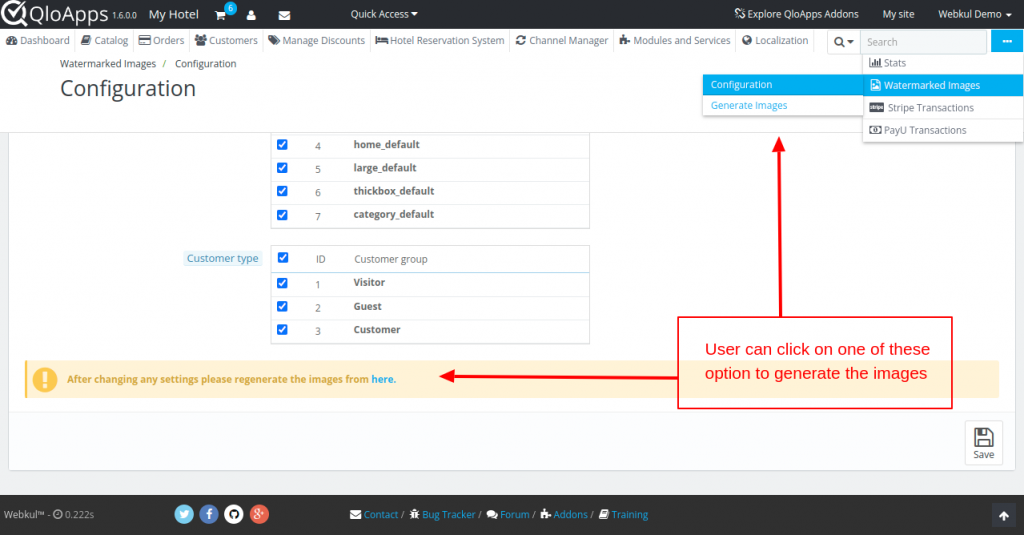
- Where to be applied: The user can check on the following image type for which watermark images will be generated.
- Cart default
- Small default
- Medium default
- Home default
- Large default
- Thickbox default
- Category default
- Customer type: The user can select the following groups for which a watermarked image will be displayed.
- Visitor
- Guest
- Customer

Workflow of QloApps Watermarked Images
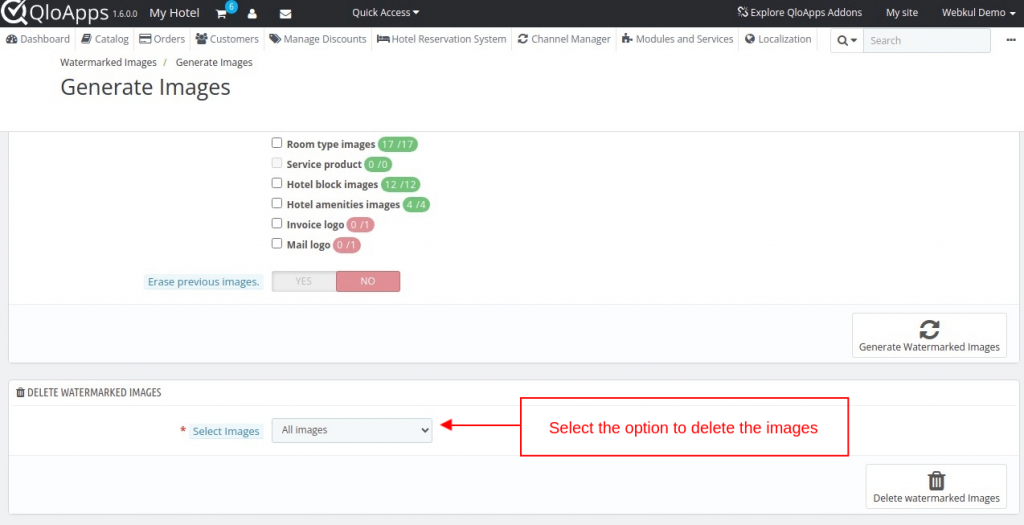
After configuring the watermark images setting the user has to generate the images. The user can choose from the bottom option or they can choose from Watermarked images > Generate Images
Here the user can select the following images to generate the watermark images.
- All images
- Header logo
- Hero image
- Hotel images
- Room type images
- Service product images
- Hotel block images
- Hotel amenities images
- Invoice logo
- Mail logo
The user can either enable or disable the erase previous images option.
Note: To generate watermarked images for new images, ensure you keep the “Erase Previous Images” option disabled. Otherwise, the system will overwrite the previously watermarked images.
Moreover, this option applies only to the current selection, giving you control over specific updates.
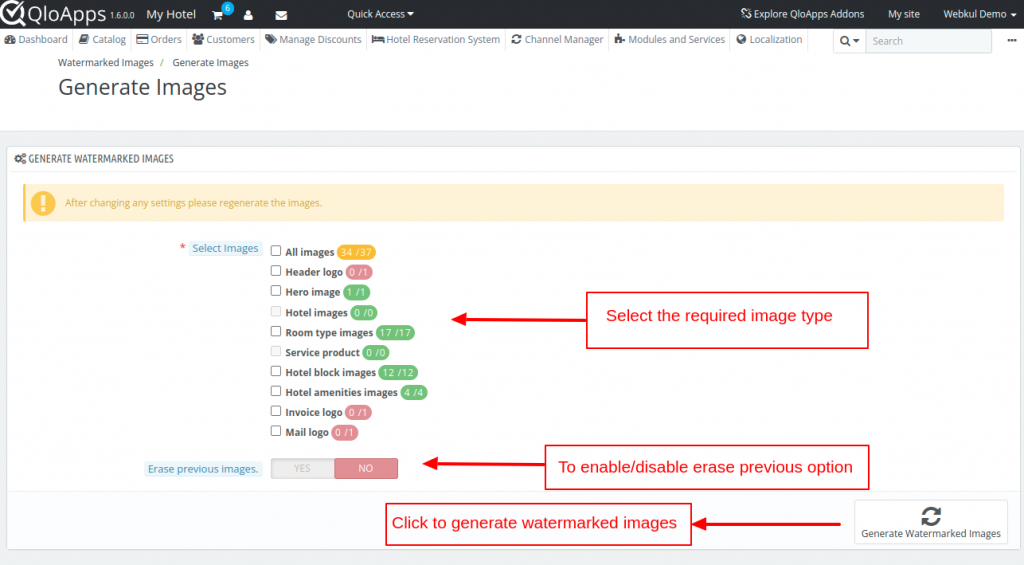
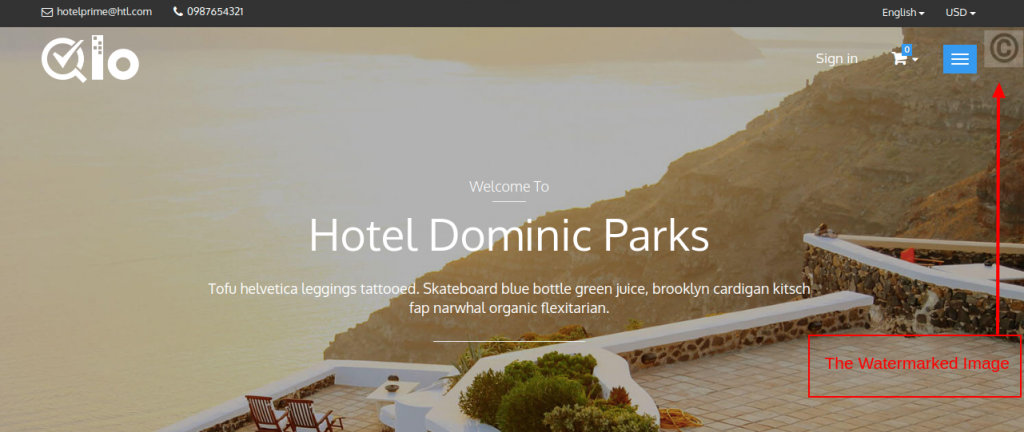
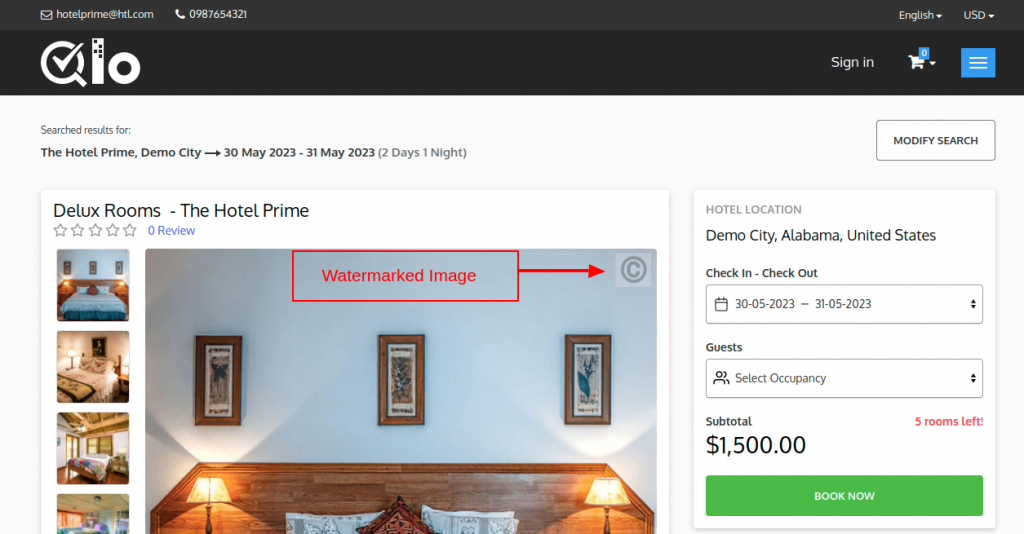
After you click the “Generate Watermarked Images” button, the system displays a progress bar showing the status of the generated watermarked images.
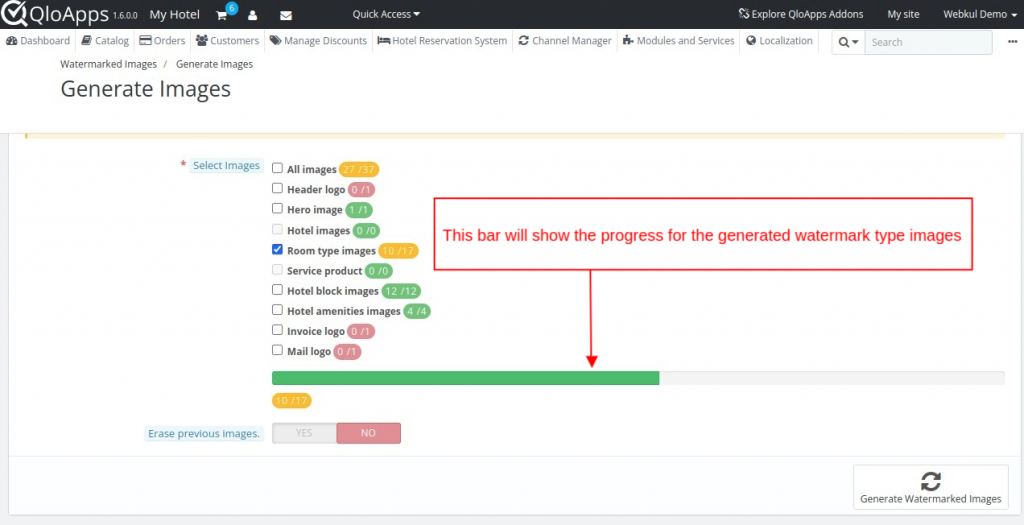
The watermark will appear on the Selected images.
The user can also delete the watermarked images from the delete watermarked images block.
Conclusion
That’s all for the “QloApps Watermarked Images Module.”
Above all, if you want to learn about the functionality of QloApps then you can visit this link: QloApps Reservation System.
In case of any query, issue, or requirement please feel free to raise it on QloApps Forum.
Moreover, you can raise a ticket to connect with our experts for any assistance.
Current Product Version – V 4.0.0
Supported Framework Version – QloApps 1.7.x

Be the first to comment.