In the Local Settings in QloApps (Part 1) we discussed till the States section.
In this blog, we will discuss further.
Currencies
One of the most important features of QloApps is its ability to deal with different currencies.
The customers like to see the rates of the hotel rooms in their local currency, this gives them more idea about the value of the room.
In QloApps there is one default currency, the currency of your country. But you can download as many currencies as your requirements.
The main page of Currency menu has three sections
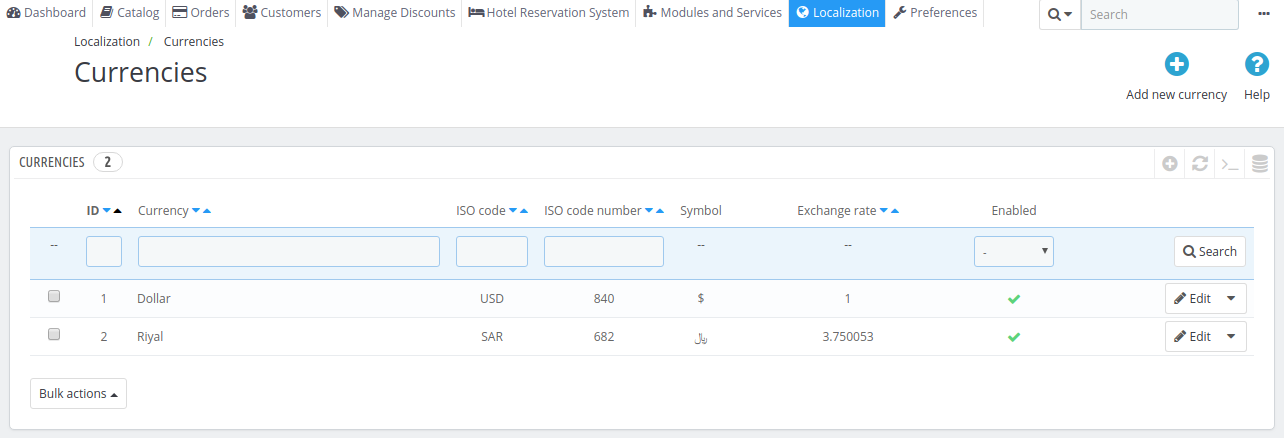
In the first section, you will see the list of currencies installed in your Qloapps with the details like
ISO code, ISO Code Number, Symbol, Exchange Rates and the option to enable/disable a currency.
The exchange rate of currencies is the in reference with your default currency.
The rate of the default currency will be 1 and all other currencies’ rates will be given in terms of the default currency.
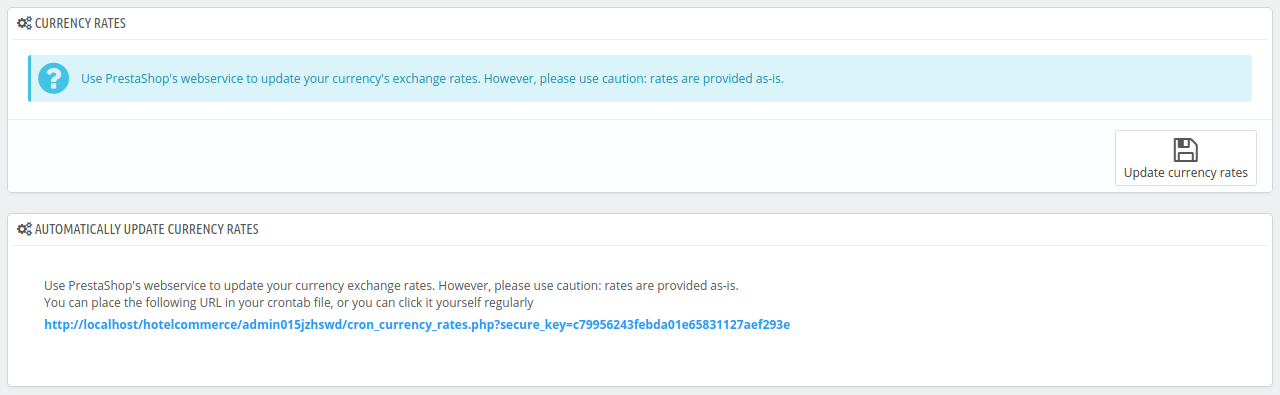
The sections at the bottom of the page are regarding the update of the currency exchange rate.
You can update the currency manually or make a cron task to update the currency automatically.
If you do not have the idea of cron task or crontab file contact your hosting provider.
Creating a new currency
To create a new currency click on Add New Currency Button
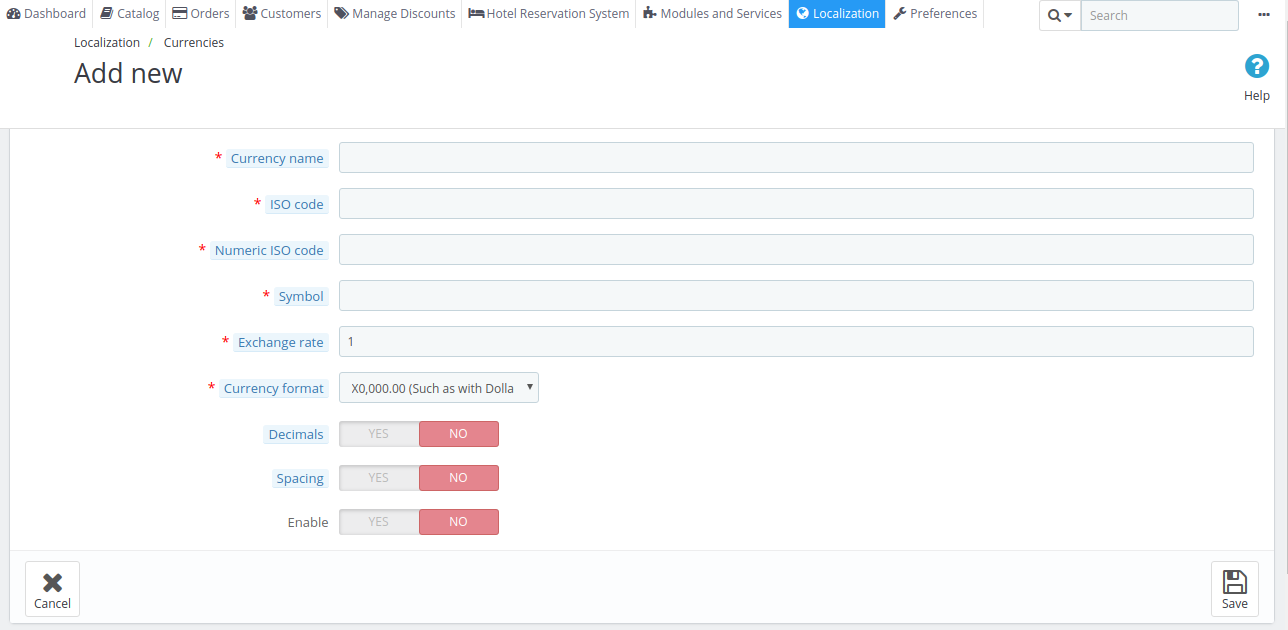
- Currency: The name of the currency.
- ISO code: The currency’s three-letter ISO 4217 code.
- Numeric ISO code: It is three-digit code ISO 4217 code.
- Symbol: The currency’s symbol if it has any. Go on this Wikipedia page: http://en.wikipedia.org/wiki/Currency_sign. for more info.
- Exchange rate: This rate is in the reference of the default currency of your shop.
- Currency Format: Set up how you want your price to be displayed.
- Decimals: If you disable decimals then all the rates in this currency will be rounded off.
- Spacing: Space between symbol and price.
- Enable: Any currency can be disabled at any time, both from edit page, and the currencies table on the “Currencies” page.
Now click on the save button to save the currency.
Taxes
Every country imposes some taxes on the sale and purchase of a product. Qloapps manages taxes effectively.
You can add or edit the taxes at your will. But taxes do not apply directly on the room rates. You first have to create a tax rule for that which we will discuss further.
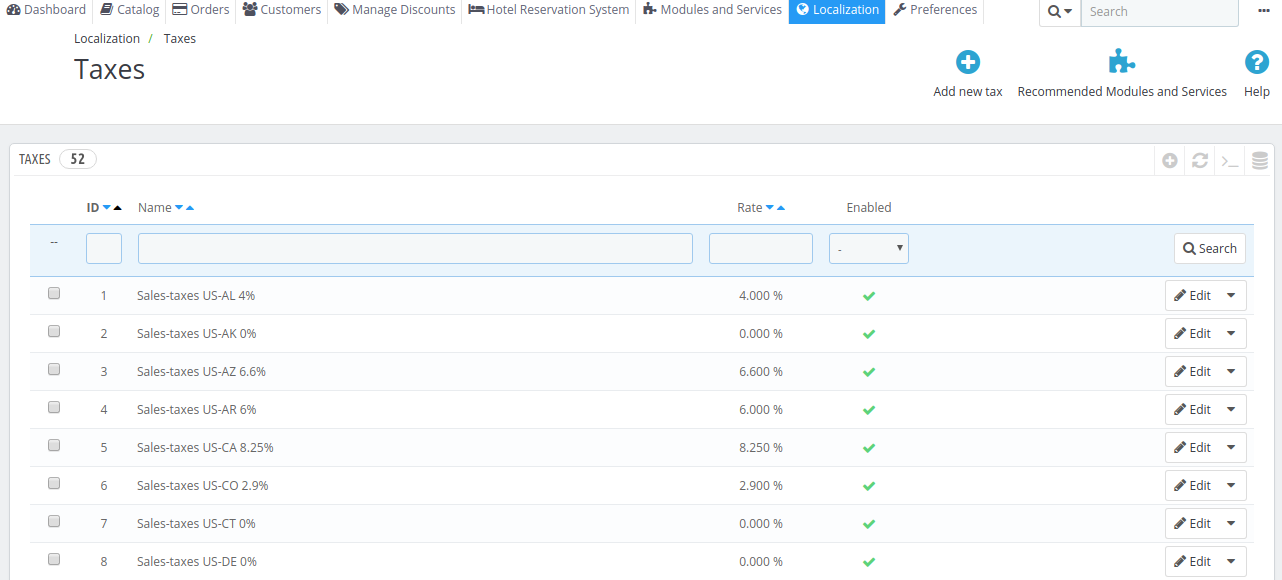
The first section on the Taxes page displays the list of taxes with their rates and status.
Creating a Tax
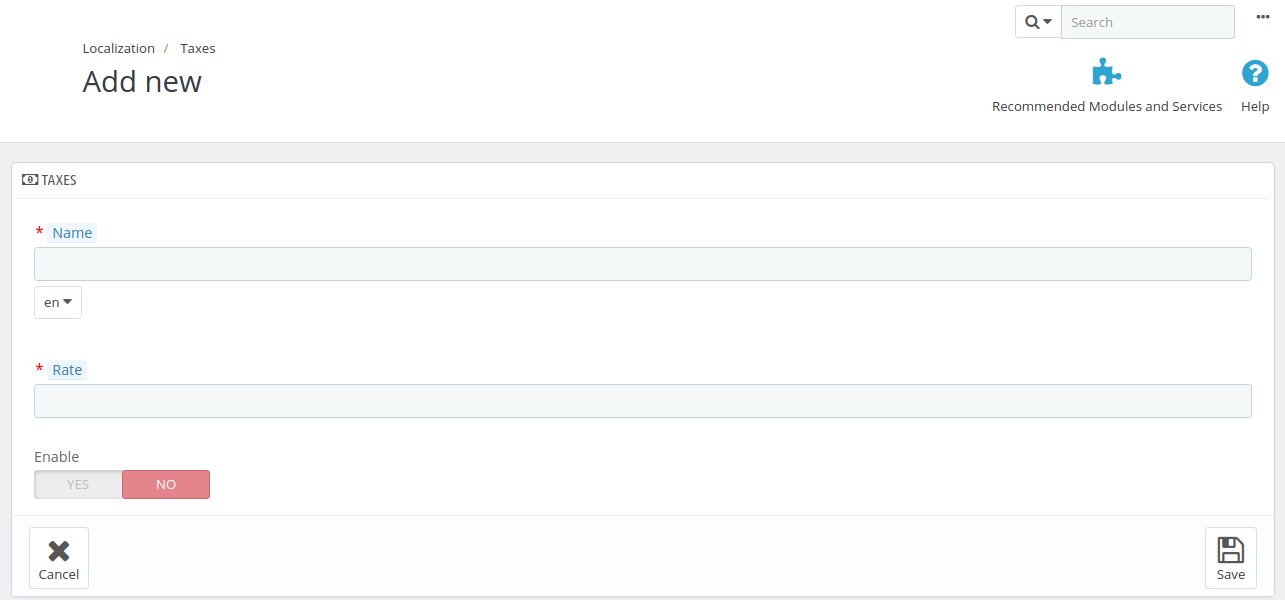
- Name. You should be specific with the name of the tax.
- Rate. The exact rate of the tax
- Enable. You can disable and re-enable a tax at any time.
Click on save button to save the tax.
Tax Rules
You cannot directly apply a tax to a product, tax rules are applied to the product.
To apply a specific tax rate for a single country or a set of countries, you have to create a tax rule. The tax rule is then applied on a per-room basis, during the creation of the room.
Depending on the country which selected during the installation, some sample tax rules are listed in the table.
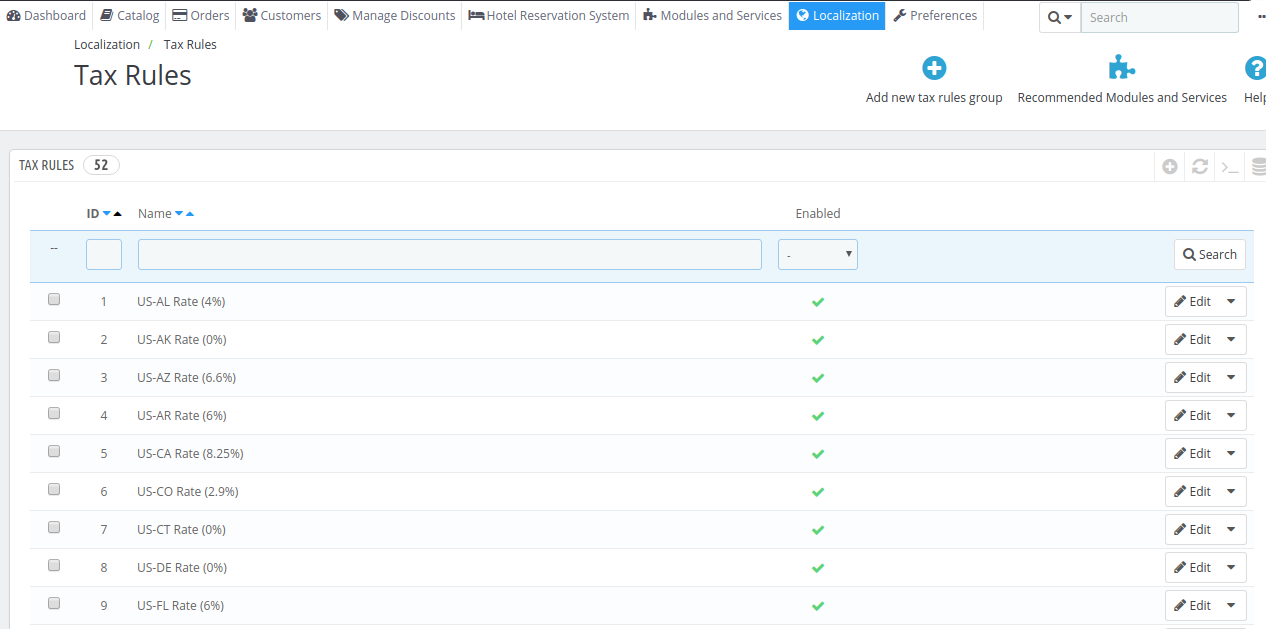
Creating a Tax Rule
Click on Add new tax rule group.
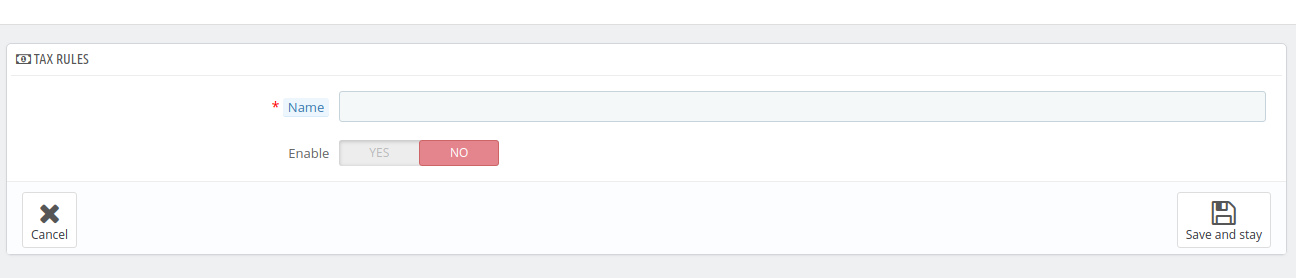
Enter the name of the tax rule and select whether it should be enabled after the creation or not then click on save and stay button.
Then the following window will appear
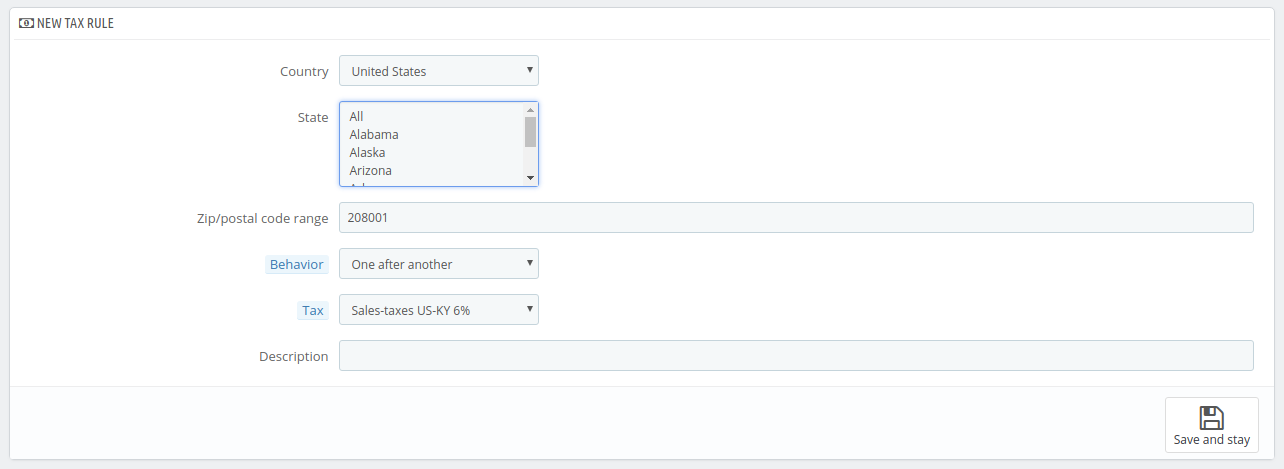
- Country. The country for which the rule is created
- State. Some countries have different taxes in the different state. Select the state for which you want to apply the tax rule on
- Zip Code range: select the range of pin codes which should include all the cities you want to include in this tax rule.
- Behavior. There are three tax rules behavior
- This Tax Only. Will apply only this tax, not any of the other matching taxes.
- Combine. Combine taxes. For example: 100$ + (10% + 8% => 18%) => 118$.
- One After Another. Apply taxes one after another. For instance: 100$ + 10% => 110$ + 8% => 118.8$.
- Tax. The tax which will be used in this tax rule.
- Description. You may add a short text as a reminder of why this tax rule exists for this country.
Click on the Save and Stay button and the rule will be created.

Support

For any kind of technical assistance, just raise a ticket at http://webkul.uvdesk.com/
and for any doubt contact us at [email protected]

Be the first to comment.