Qloapps is loaded up with a lot of options. One of them allows you to handle your customers.
Customers are the most important part of the business. If there is no customer there is no business.
Let us see how Qloapps Manages customers.
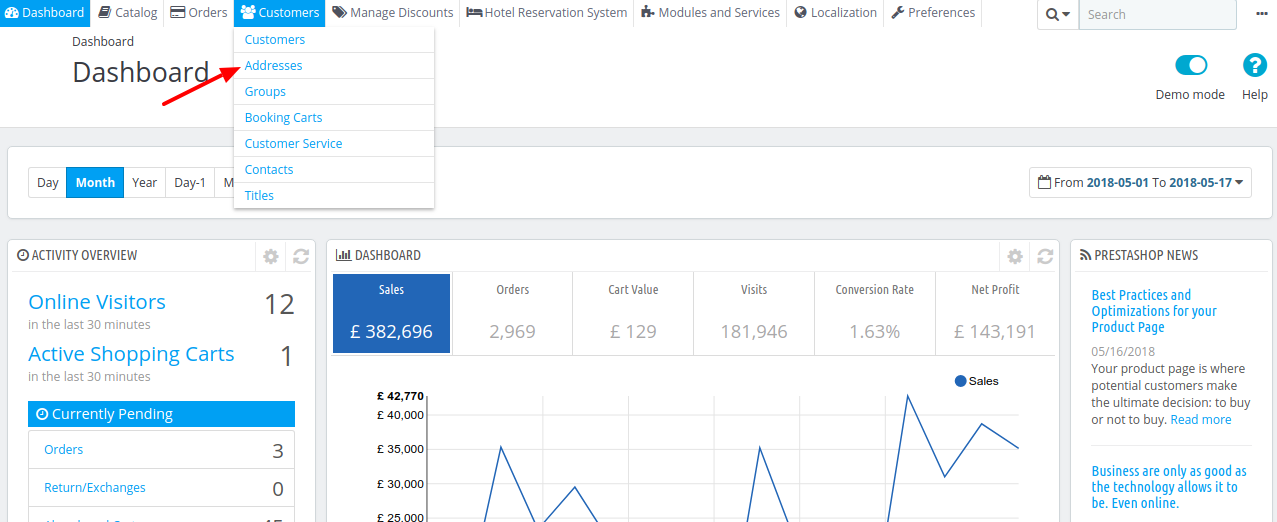
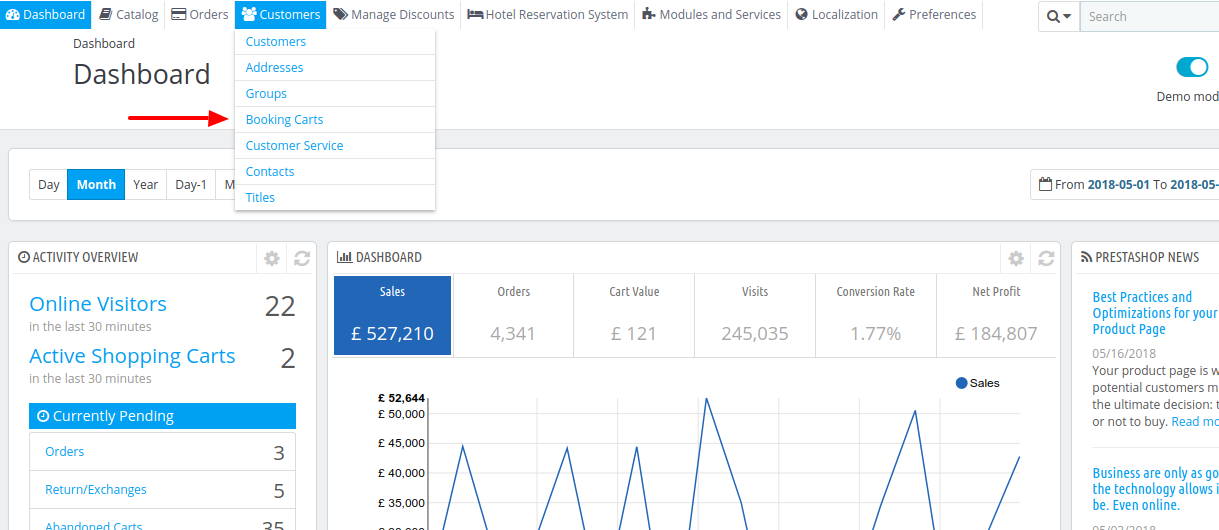
We will Customers Tab in the menu bar 
In the drop-down menu first option is Customers.
On clicking on Customers following page will appear.
Customers
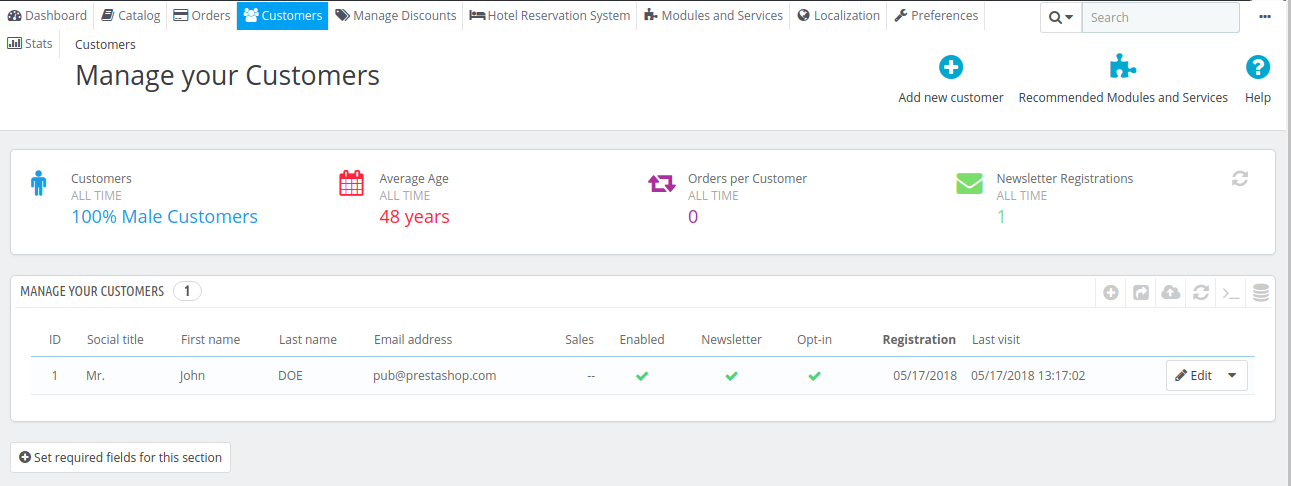
This page gives you all the information about your customers.
On this page, you will have all the states regarding your customers.
Then you will have the list of all your customers.
Title: This is the social title of the customer. There three titles of customers in Qloapps (Mr., Mrs., Miss). If the admin wants then he can add more titles to the same customer tab.
First Name: This is the first name of the customer
Last Name: This is the last name of the customer
Email Address: This is the mail address of the customer by using which he has registered on your website.
Sales: Total sales from this customer.
Enable: Customer active or not
Newsletter: Indicates whether the customer is subscribed to your shop’s newsletter or not
Opt-in: Indicates whether the account has accepted to receive e-mails from your partners or not.
Registration: This is the registration date of the customer
Last visit: This is the date and time when the customer visited last time on your website
Creating a Customer
Step 1: To create or register a new customer to Qloapps you have to click on Add New Customer button
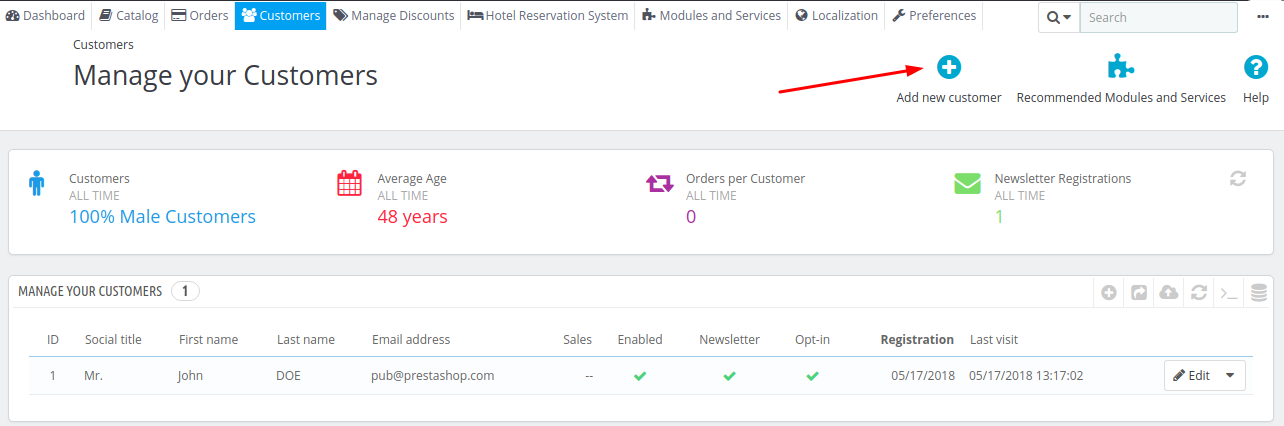
Now you will land on Customer creation page

Title: Choose a title from the available ones
The first name, Last name, E-mail address: Enter the names are used in the confirmation e-mails that Qloapps sends, and the e-mail address is used for log-in.
Password: Choose a password, at least 5 characters long.
Birthday: This information can be used for birthday e-mails and giving discounts
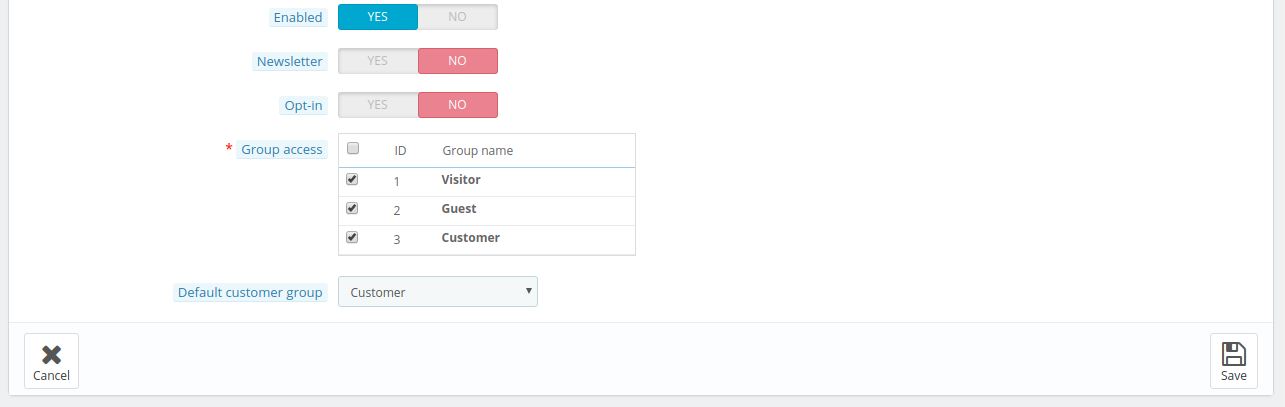
Status: Created account to be active or not
Newsletter: Send Newsletter or not.
Opt-in: Opt-in to receive e-mails from your partners or not.
Group access: Customer groups allow you to create group discounts. Many other Qloapps features can also be group-restricted.
Default customer group: A customer can belong to multiple groups but he/she should have one man group
Now click on Save Button and the customer is created.
Now if you double-click on the customer on the list you will land on the customer information page.

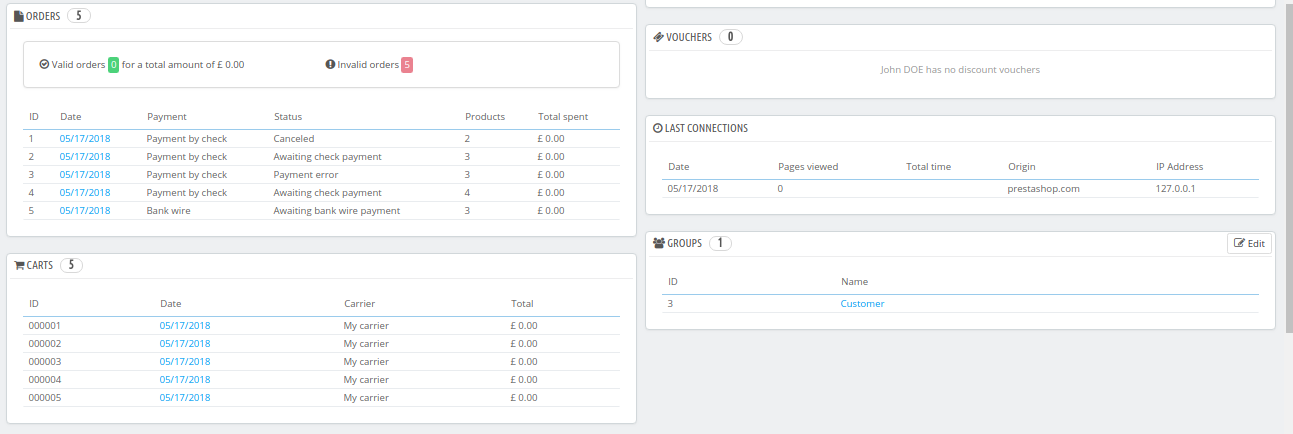

Here you will find the information related to that customer.
The various sections provide you with some key data on the user:
- His name, age, registration date, language, status
- Add a private note for your staff
- Messages from customers
- Order and Payments Information
- Carts information
- Vouchers that are created on his accounts
- Groups he belongs to
- His Addresses
Addresses
You can manage customers addressin by clicking the Address in the drop-down menu
Now you will land on the Address page

Creating a new address
Click on Add new address button and you will land on address creation page


Here you have to enter all the details to create an address
Customer Email: From this email, the system will assign this address to the customer
Identification Number: This is the ID card number of the customer of his company
Address Alias: Short description to allow a customer to correct address
First, Last Name: Name of the customer
Company: Company name of the Customer
VAT Number: VAT identification number
Address: Customer’s Address
Other: If any other information is required
Click on Save and The customer address will be added.

Groups
Notably, Qloapps have three customer groups by default
Visitor – All persons without a customer account or customers that are not logged in.
Guest – All persons who placed an order through Guest Checkout.
Customer – All persons who created an account on this site.
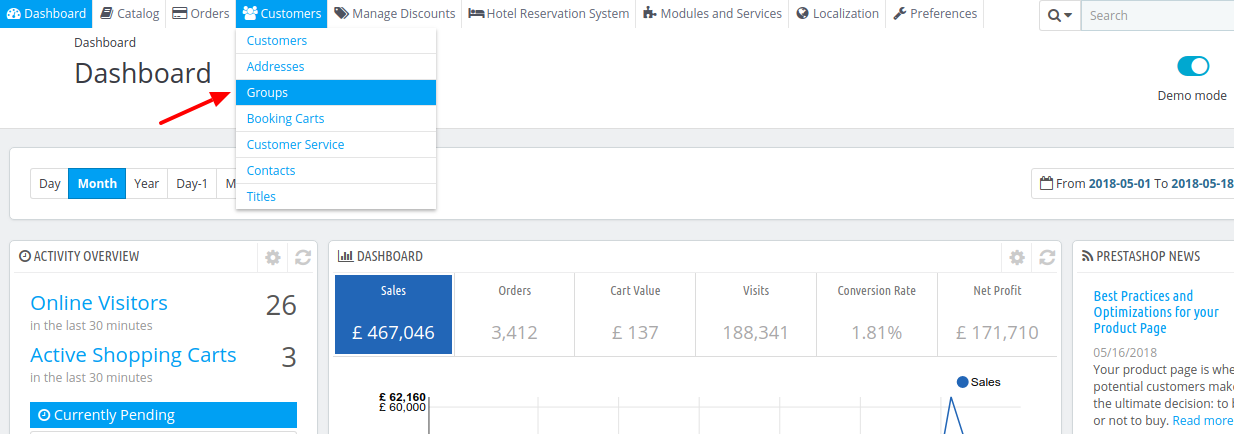
Click on Groups option in the drop-down menu to manage groups.
Now you will land on the Groups Page
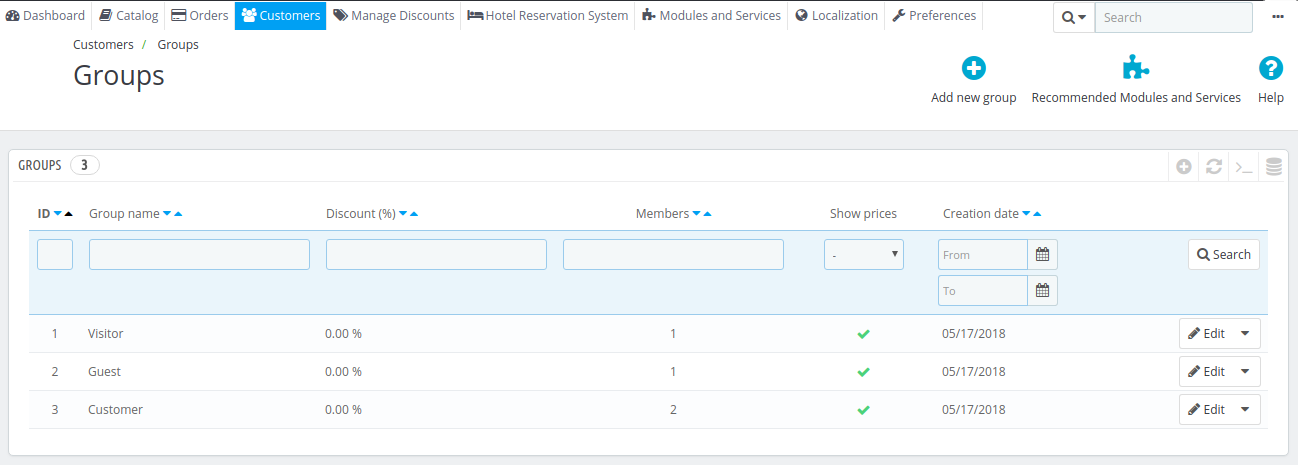
Here you will all groups in your Qloapps
Creating Groups
To Create Groups Click on Add new group.

Name: Name of the group
Discount: If you want to give a discount to this group then enter the value or leave it 0
Price display method: Select whether you want to show tax included price or tax excluded
Show prices: Select whether you want to show prices of rooms to this group or not
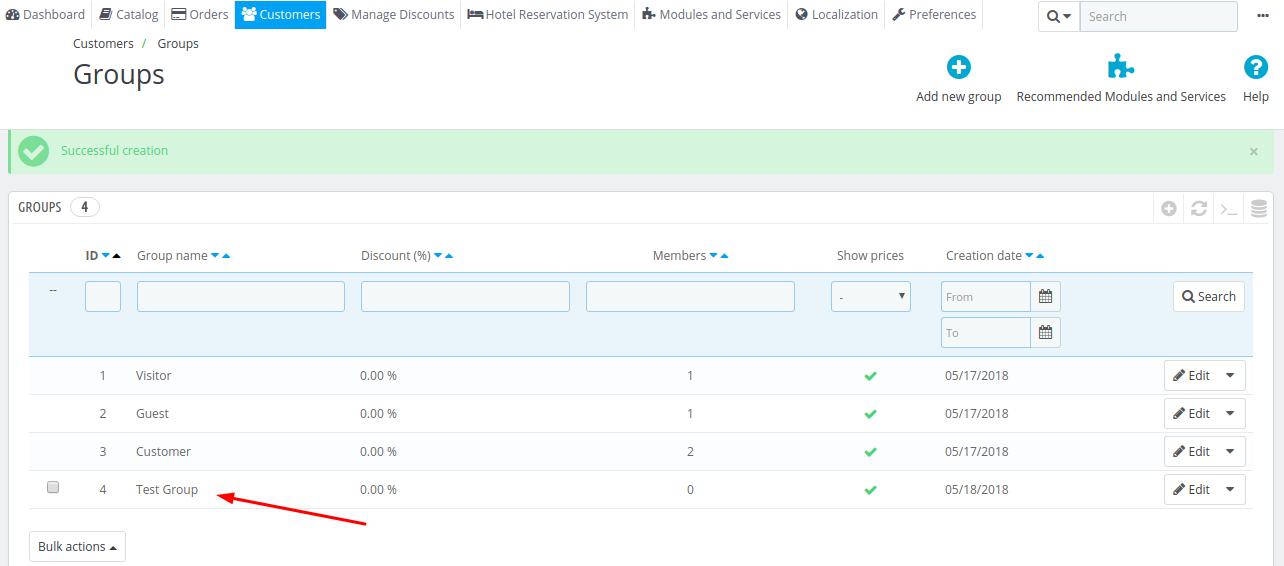
Click on save button to create the group
Now, the created group will appear on Group page
Booking Cart
One of the most noteworthy features of Qloapps is that it allows you to check the booking carts of the customers in real time.
To see the booking carts of the customers Click on Booking Carts under customer tab.
As you click on the Booking Carts option you will land on the following page

On this page, you will find all the booking carts of your customers
Click on a booking cart to its details.
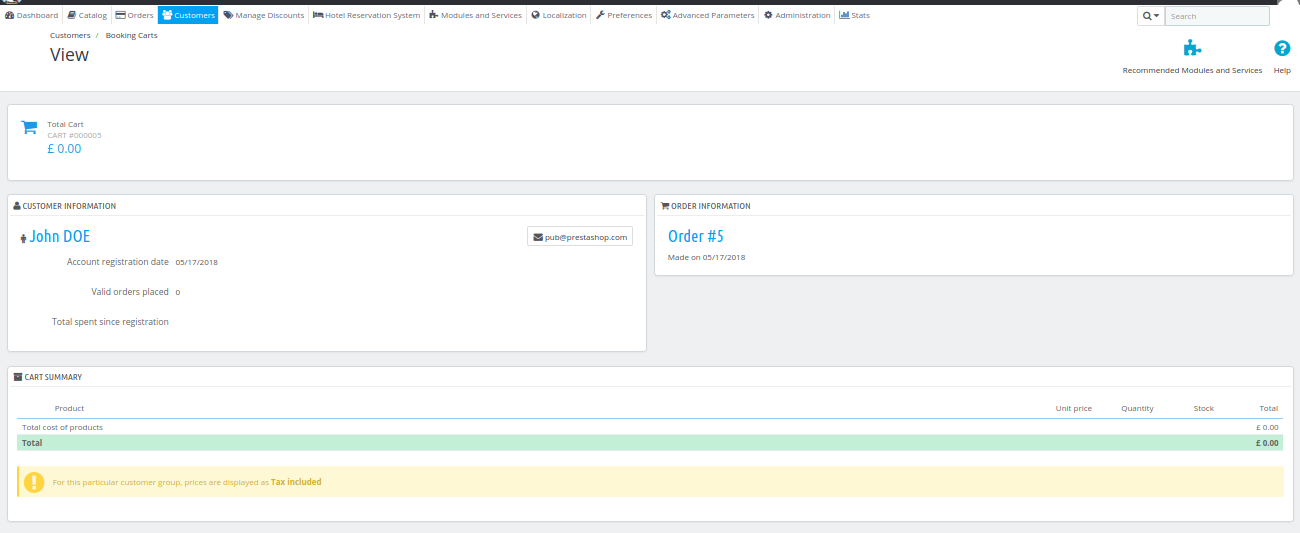
Here you will see the information regarding
- Total cart value
- Customer Information
- Order Information
- Cart summary
Customer Service
Qloapps enables you to centralize all the customers’ requests in one place. This will help you to keep a track of which discussion thread needs answering, rather than check all the recipients of the mail to see if someone did answer it.

Click on customer service in Customer Tab and the following page will appear
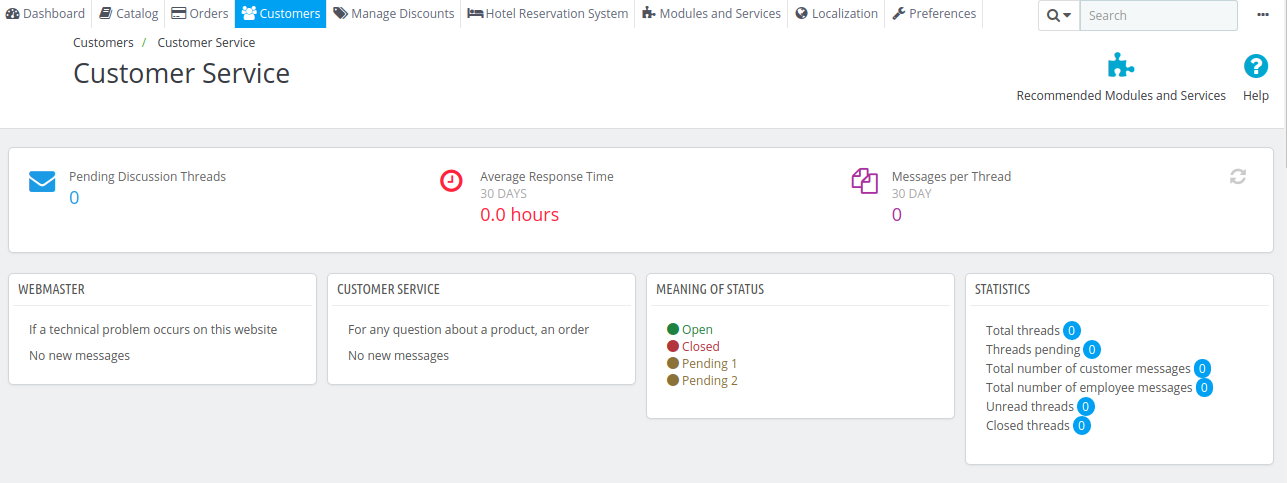

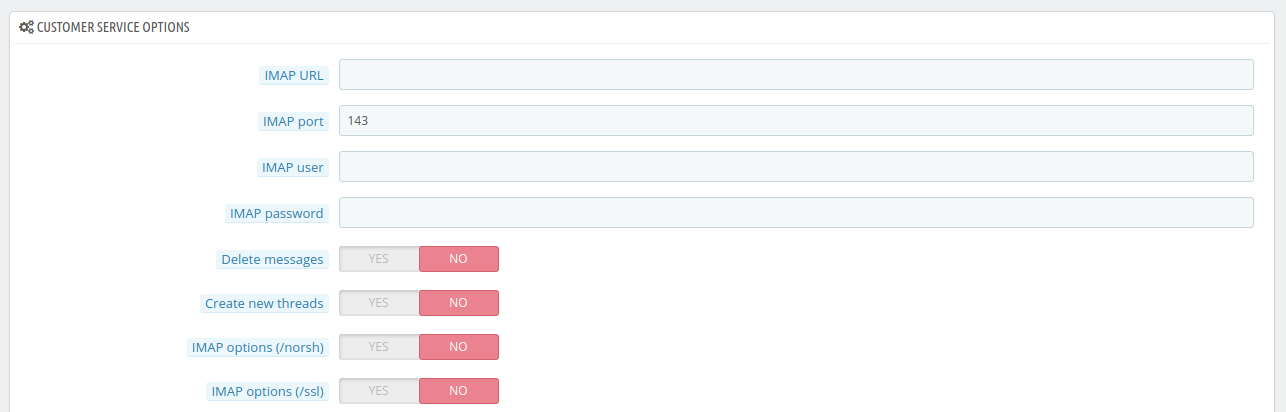
On this page, you can see
- Your contacts (discussed below)
- Meaning of Statuses: Colour codes that your team can apply to threads
- Statistics
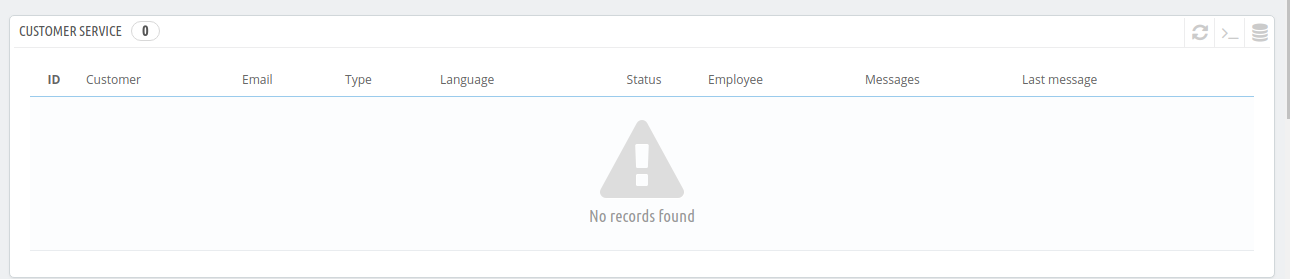
- Then you have a list of customer messages
- Contact Options
- Allow Uploads: Whether the customer can attach a file to the message
- Default Message: You can save a pre-written template to save your time
Contacts
To improve the communication with customers, you can create multiple contact accounts. For an example: customer service, admin, hotel manager etc.
This feature will allow your customers to directly contact the right person according to their needs.
Click on Contacts and then you will land on the contact page.

Create a new contact
Click on add new to create a new contact

Title: Contact Title like Customer Service
Email Address: Email where the customer messages will be received
Save messages: Whether to save the messages to customer services or not
Description: A description of the contact
Now Click on the Save button to add the contact
Titles
The title helps you to better understand customers in the customer’s list, you can choose to only display customers having a social title.
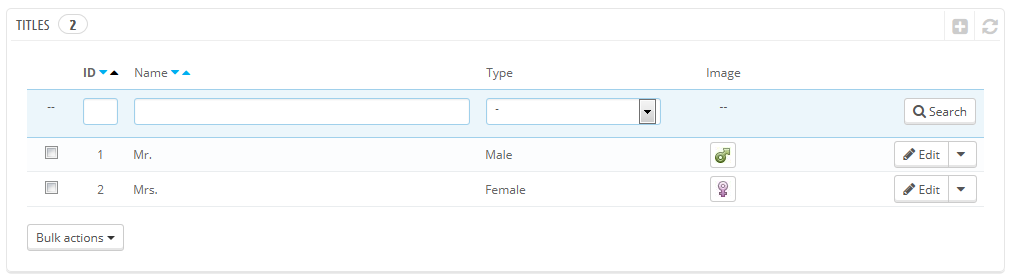
Clicking on the “Add new” button brings you to a form:
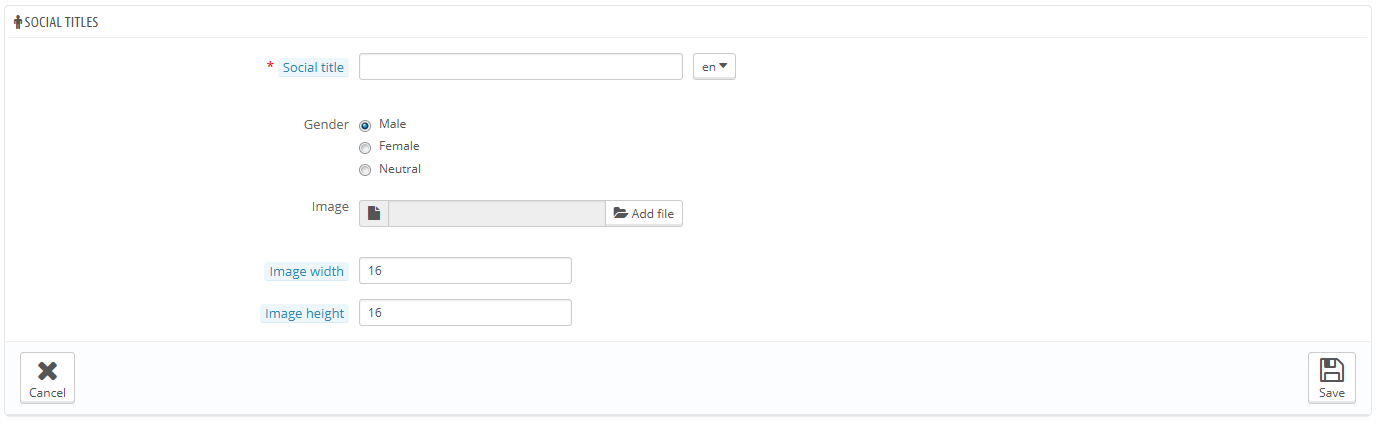
- Social title. You can choose a title like Mr., Mrs, Miss etc.
- Gender. Assign gender to that title as some titles can be ambiguous in terms of gender. For an example, “Dr.” is a title does not clarify the gender.
- Image. A 16*16 image file representing the title (like ♂ and ♀)
- Image width and Image height: You can choose the image dimensions. But 16*16 is recommended
Support

For any kind of technical assistance, just raise a ticket at http://webkul.uvdesk.com/
and for any doubt contact us at [email protected]

Be the first to comment.