QloApps Universal Payment Gateway is an addon for QloApps which will allow you to accept online payments through Multiple Payment Gateway.
A single platform that integrates multiple payment methods—credit/debit cards.
Instead of managing different gateways for different payment modes, hotels can centralize everything into one solution.
Moreover, ensuring transactions are secure, fast, and hassle-free.
Unlock Seamless Transactions: Key Features of QloApps Universal Payment Gateway
- Multi-currency support for international guests.
- Instant settlements to improve hotel cash flow.
- Centralized Reporting
- Faster Check-ins and Checkouts
- Secure and Compliant Transactions: With features like PCI-DSS compliance, encryption, and fraud detection, hotels can protect guest data while ensuring regulatory compliance.
- Global Guest Convenience: Hotels attract travelers from across the world. Moreover, a universal gateway ensures international guests can pay in their preferred currency and method, eliminating friction.
How to install QloApps Universal payment gateway: A complete Guide
The installation of any module is very simple in QloApps.
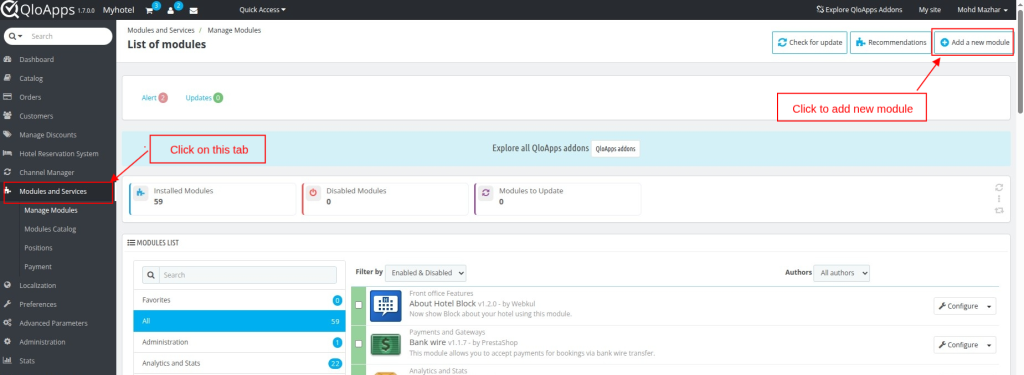
- Go to the Module and Services tab
- Click on Add New Module
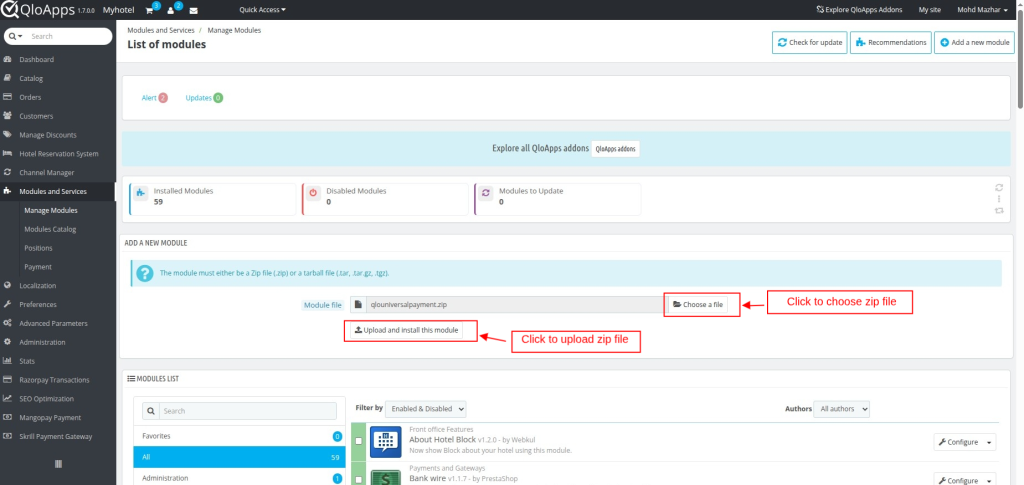
- Now upload the Zip file of the Module and click on Install
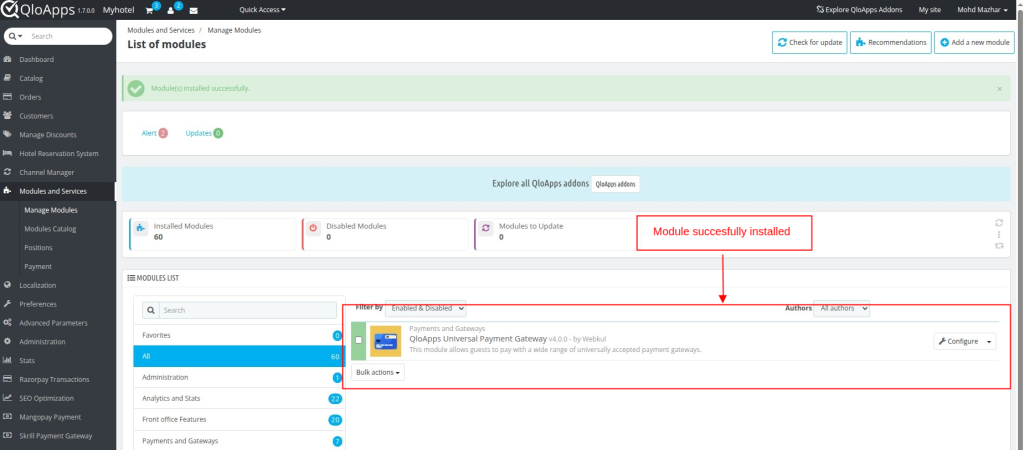
- Once the installation is finished, it will confirm that it was successful, followed by a display of the installed module below.
Ultimate Guide to Configuring QloApps Universal Payment Gateway
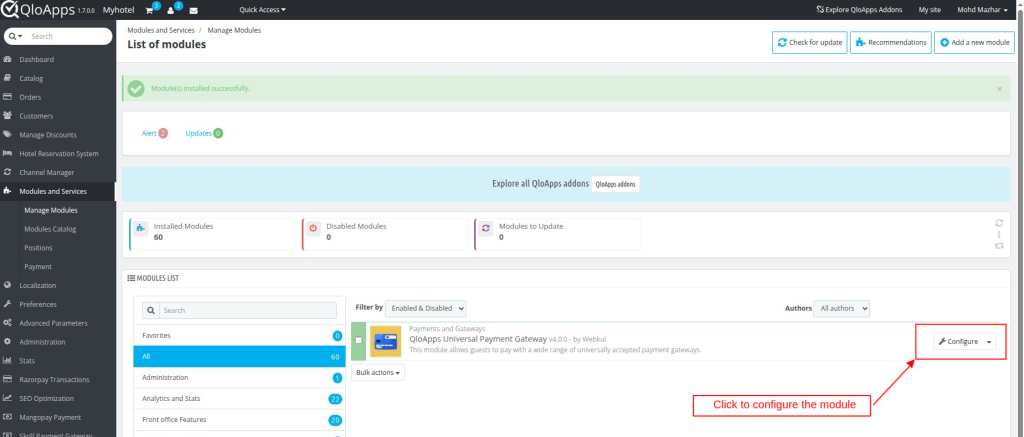
Once installed, you can configure the QloApps Universal Payment Gateway by following these steps:
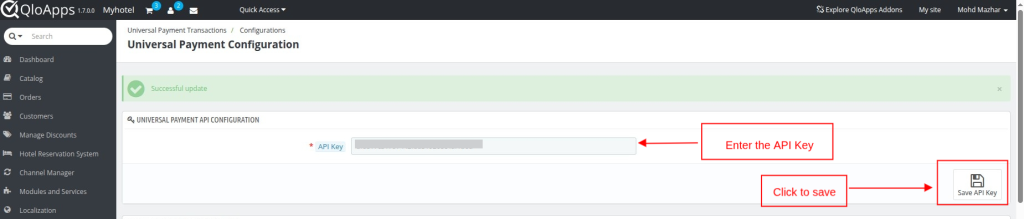
- Click on the “Configure” button to access the configuration page.
- Enter the API Key
- Click on the Save and Stay Button
- If the API key is not changed, and you click the submit button again
- Then the payment gateway list gets updated, ie, if any new payment gateway is added to PCI booking’s universal payment gateway, it will get reflected without changing any of the pre-existing configured gateways
Once you have entered the API Key, the List of all payment Gateways under the Universal Payment Gateway will be displayed.
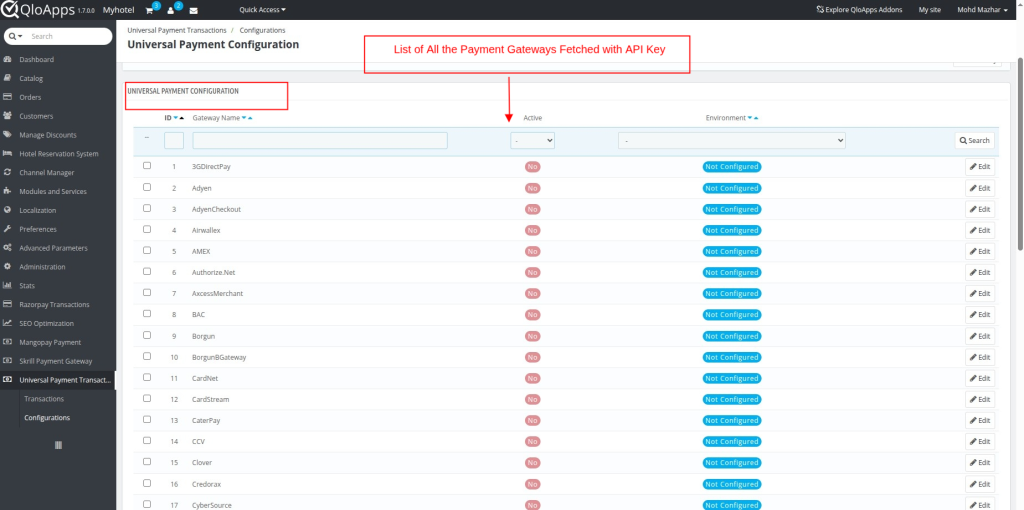
Then you need to configure the payment gateway for which you want to allow the users to perform transactions.
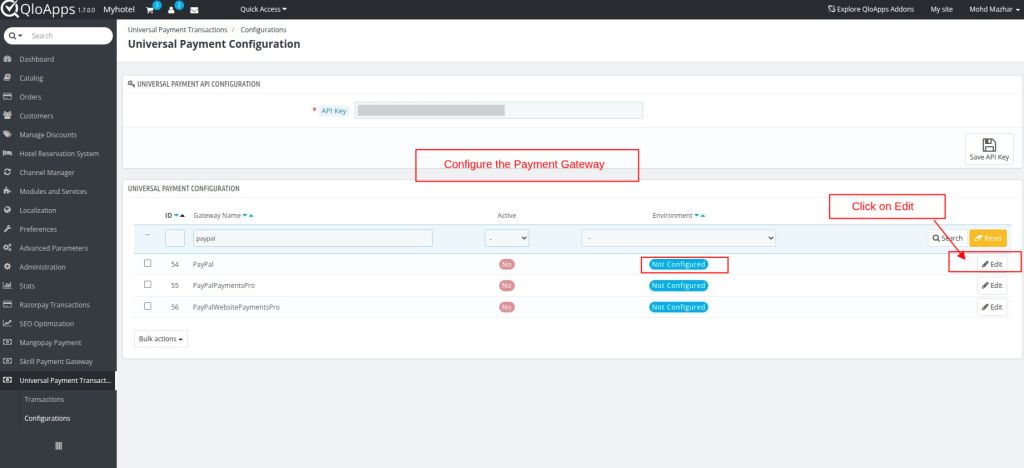
Note: In this Guide, we are taking an example of PayPal Payment Gateway configuration to make things clear on how the payment gateways are configured under Universal Payment Gateway.
Moreover, you can configure multiple Payment Gateways.
- Click on the Edit Button.
Enter the PayPal Credentials
- Enable the Payment Gateway
- Enter the name that you want to display.
- Select the environment. Switches between production and sandbox modes for testing and production purposes.
- Production mode is for actual transactions, while sandbox mode is for testing and development.
- Enter the PayPal Client ID and Secret Key
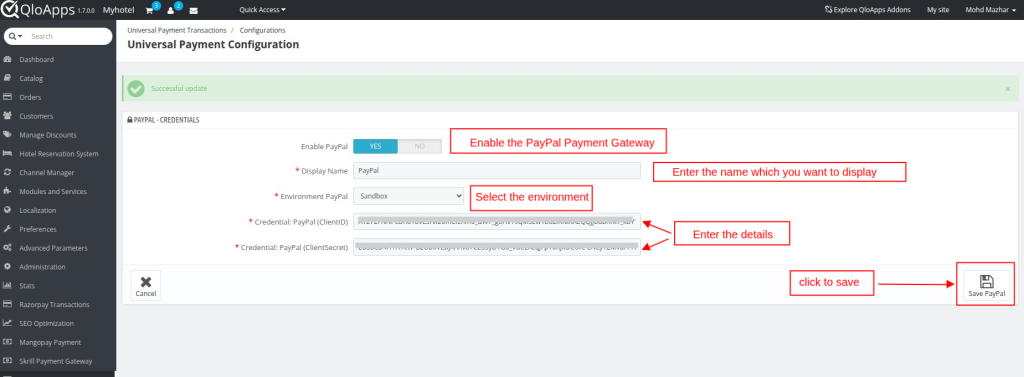
- Click on the Save button
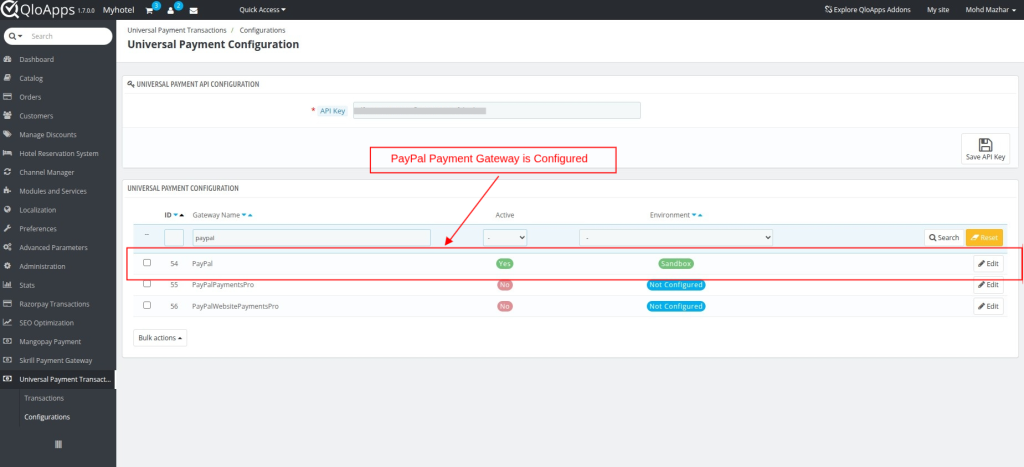
Once you have entered the details PayPal Payment Gateway will get configured.
How to Easily Obtain Your API Keys for QloApps Universal Payment Gateway Integration
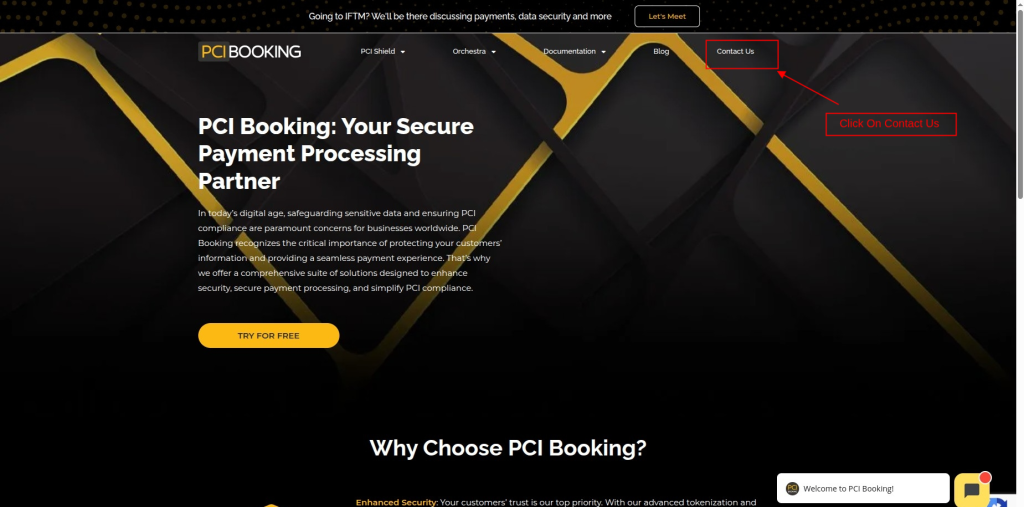
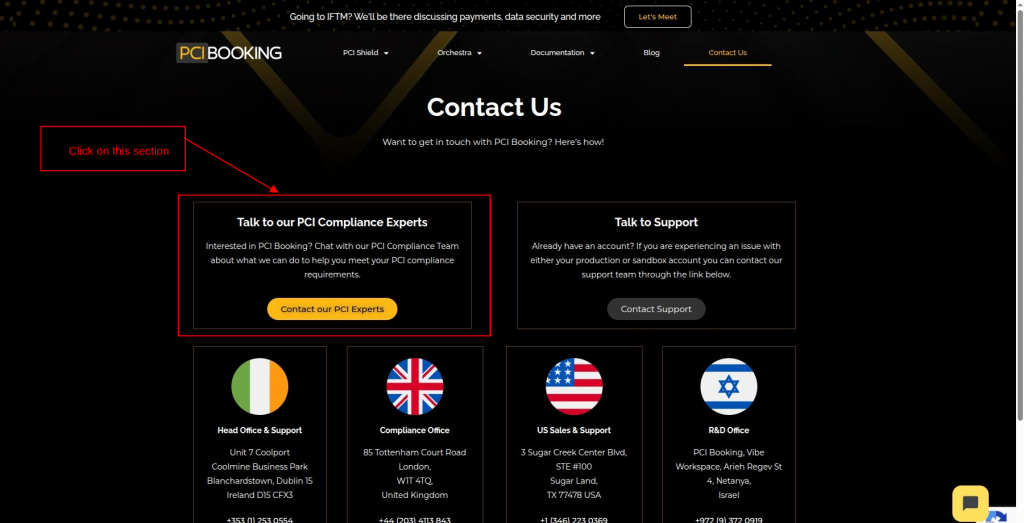
To Obtain the API Key.
Note: Users need to request for the account creation on PCI Booking.
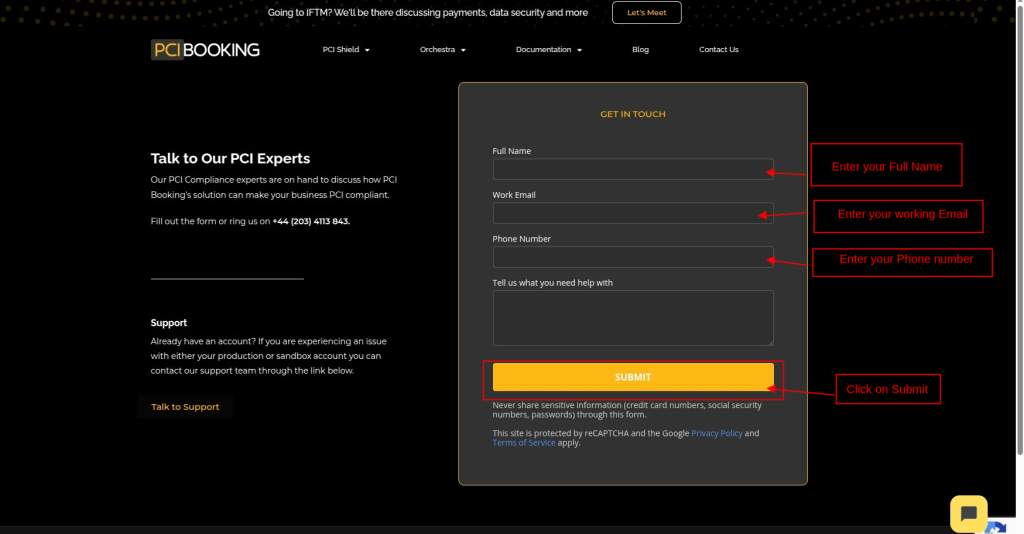
Once you have submitted the details, you will get your user account ID and password on your working email, which you have mentioned in the details.
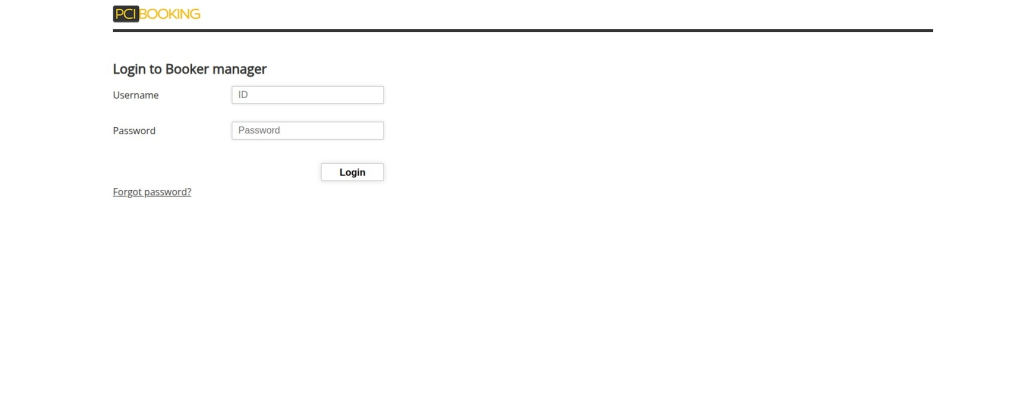
Once you get the credentials, Log In here to obtain the API key.
Navigating The Frontend Workflow In QloApps Universal Payment Gateway
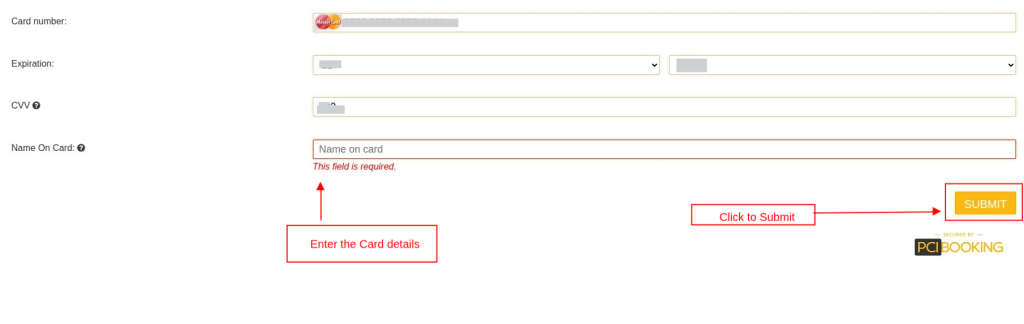
On the front end, the user will find the option to pay with PayPal Gateway at the checkout page.

Click on the PayPal option to initiate the payment.
Fill in the card credentials.
Hit the Submit Button
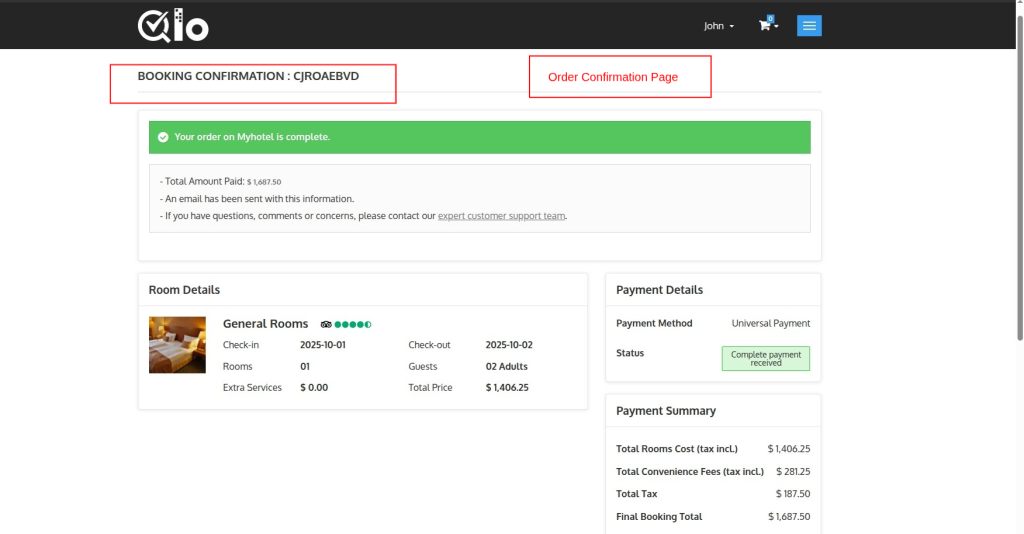
After the payment is completed, details will be displayed on the Booking confirmation page.
Note: As we have configured the PayPal payment gateway, meanwhile you can configure multiple Payment Gateways as per your guests’ needs.
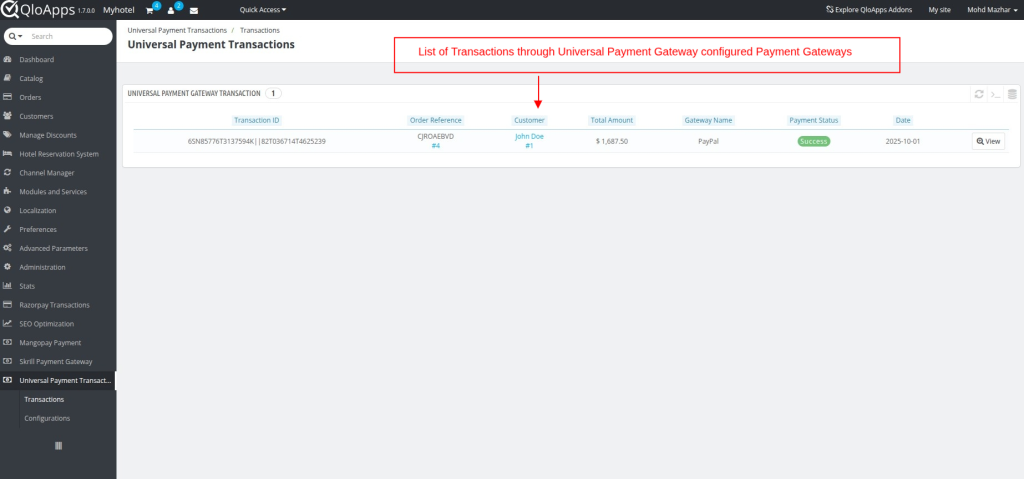
Backoffice
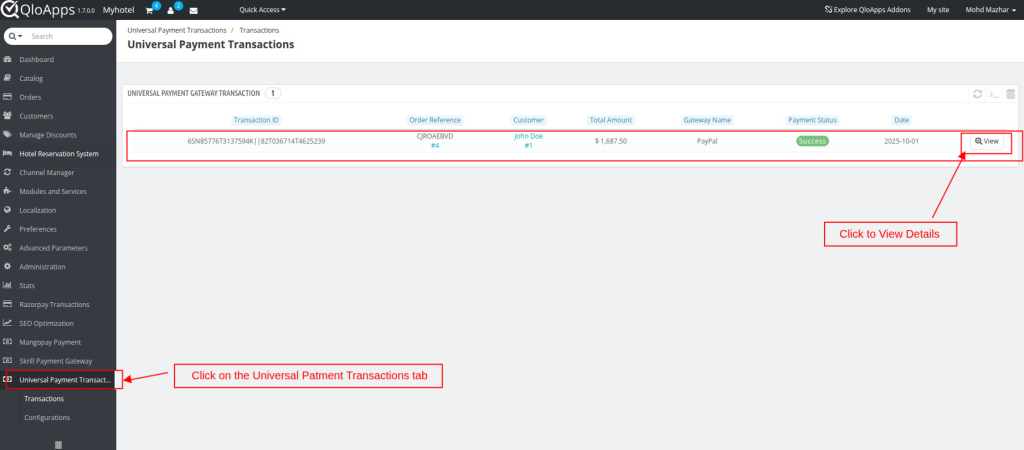
You can see all the transactions under the Universal Payment Transaction Tab
Transaction: To view all transactions made with the configured Payment Gateway under the universal Payment Gateway.
Configurations: Under the Configuration tab, you can see the list of payment gateways and to configure them as per Admin Need.
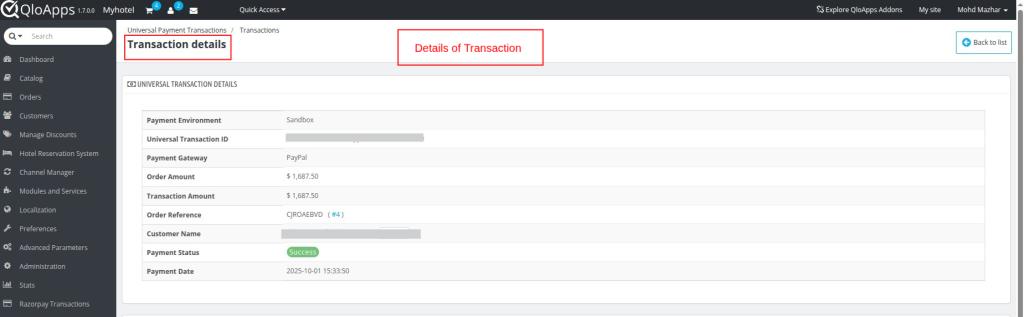
Click on the View button to see the details of the transaction.
Refunds Made Simple: How To Use The QloApps Universal Payment Gateway
Under the Refund Transaction section
QloApps Universal Payment Gateway allows full payment refund doesn’t allow partial refund.
Note: QloApps Universal Payment Gateway allows refunds according to the payment gateway configured; some payment gateways do not allow refunds.
- Enter the Remark
- Click on the proceed button to proceed refund.
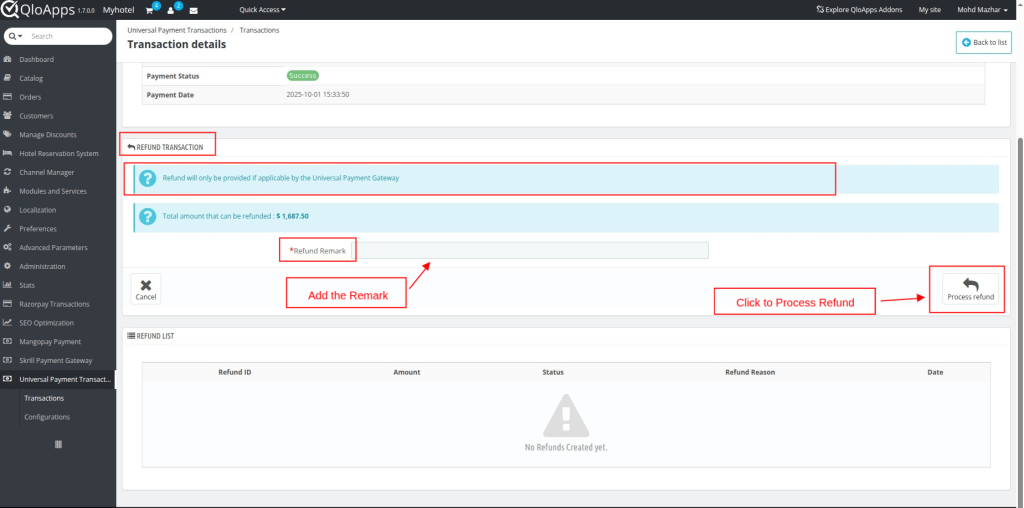
Meanwhile the refund is generated, you will see the status under the Refund List section.

Wrapping Up
This was all from the QloApps Universal Payment Gateway. We hope this guide is able to clarify the functioning of the module to you.
Reach Out: We’re Ready to Assist
If you want to learn about the functionality of QloApps, then you can visit this link: QLO Reservation System – Free Open-Source Hotel Booking & Reservation System
In case of any query, issue, or requirement, please feel free to raise it on the QloApps Forum
Current Product Version – V 4.0.0
Supported Framework Version- QloApps 1.7.x

Be the first to comment.