QloApps is an open-source hotel booking & reservation software providing features that will help hoteliers to launch a user-friendly online hotel booking website.
This article helps you to download and install QloApps software with ease.
Note: This guide is specifically for QloApps version 1.7.0.
QloApps Installation Video Guide
Download QloApps software
Downloading QloApps is quick and simple. Just follow the steps below:
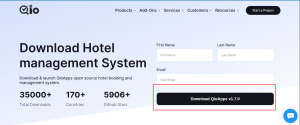
- Visit our official website: qloapps.com
- On the homepage, click the “Download” button located on the top banner
OR
Click “Get Started” and scroll down to find the “Download Now” section. - Click on “Download Now” to get the latest version of QloApps.
Once downloaded, you’ll receive a ZIP file containing the full QloApps package ready for installation.
Create Database
After downloading the software, the next step is to create the database. Subsequently, the database will be configured with QloApps as part of the installation process.
This database will be used by the system to store your hotel-related information like a hotel, rooms, bookings, etc.
To create a database Goto your database’s PHPMyAdmin by entering your URL/phpmyadmin in the address bar of your browser
(ex: website.com/phpmyadmin)
After logging in into your account Click on the Database Tab
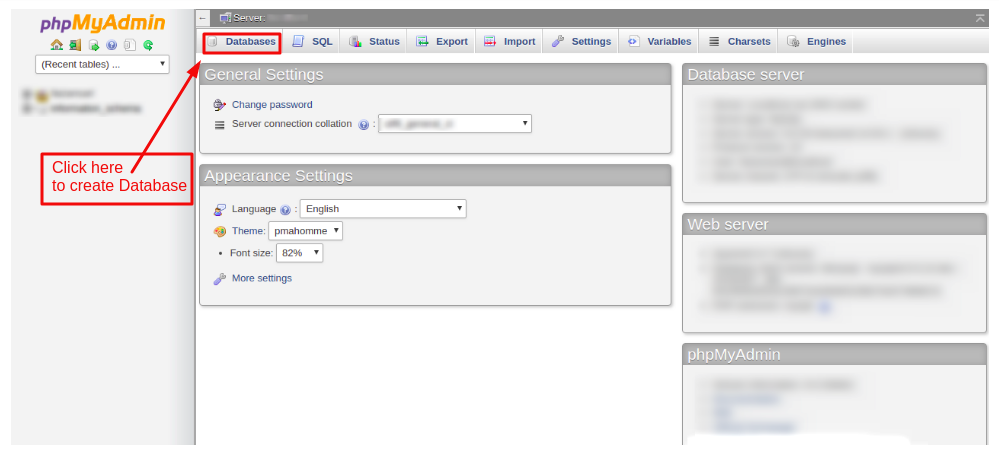
Now create a database and take a note of the database name as you will require the same name in the further installation process.

Uploading files to your server
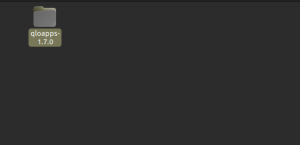
After creating an empty database, unzip QloApps software zip files and upload it to your server.
Note: Make sure you didn’t upload the root folder directly, only the files and folders that it contains.
Step 1: Unzip the ZIP file you downloaded from the QloApps website.
Step 2: Now copy all the files & folders in the hotel commerce folder and upload them to your server
Launching QloApps installation
After uploading your files it is time to start the installation. To start the installation access the uploaded QloApps file from your public URL.
As you hit your public URL the installation will start.
Here are the installation steps:
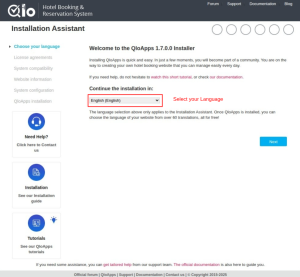
1. Choose your language
From this page, you can choose your installation language and your default software language. You can always change the language from the back-end.
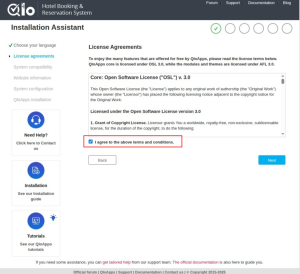
2. License agreements
QloApps is open-source software. QloApps core is licensed under OSL 3.0, while the modules and themes are licensed under AFL 3.0.
You will have to agree to the terms and conditions to proceed with the installation. Click on the checkbox.
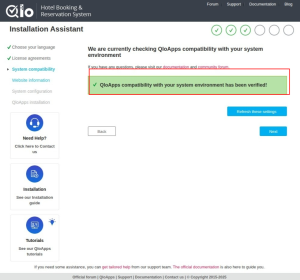
3. System compatibility
At this stage of the installation, QloApps will automatically verify your system’s compatibility to ensure everything is correctly configured.
In QloApps v1.7.0, we’ve implemented stricter and more comprehensive system compatibility checks.
If your system does not meet the required specifications, the installation process will not proceed.
To review the full list of system requirements, please refer to the documentation:
https://devdocs.qloapps.com/introduction/requirements.html
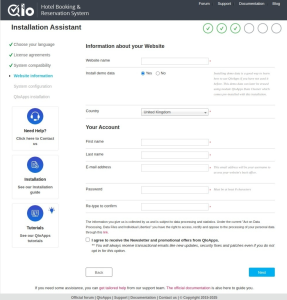
4. Website Information
At this step, you will need to enter your Website Details and the credentials by which you will access your QloApps.
5. System Configuration
Connect your database to the QloApps by entering your database credentials and database name which you created in the steps above. Next, test your database connection.
If the connection is successful, you can then proceed to the installation.
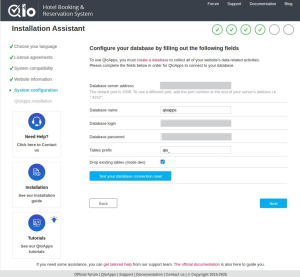
Now click on Next for the final step of the Installation
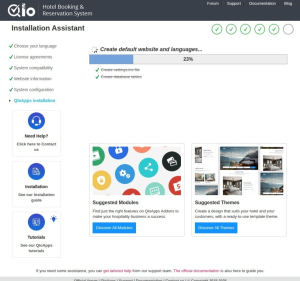
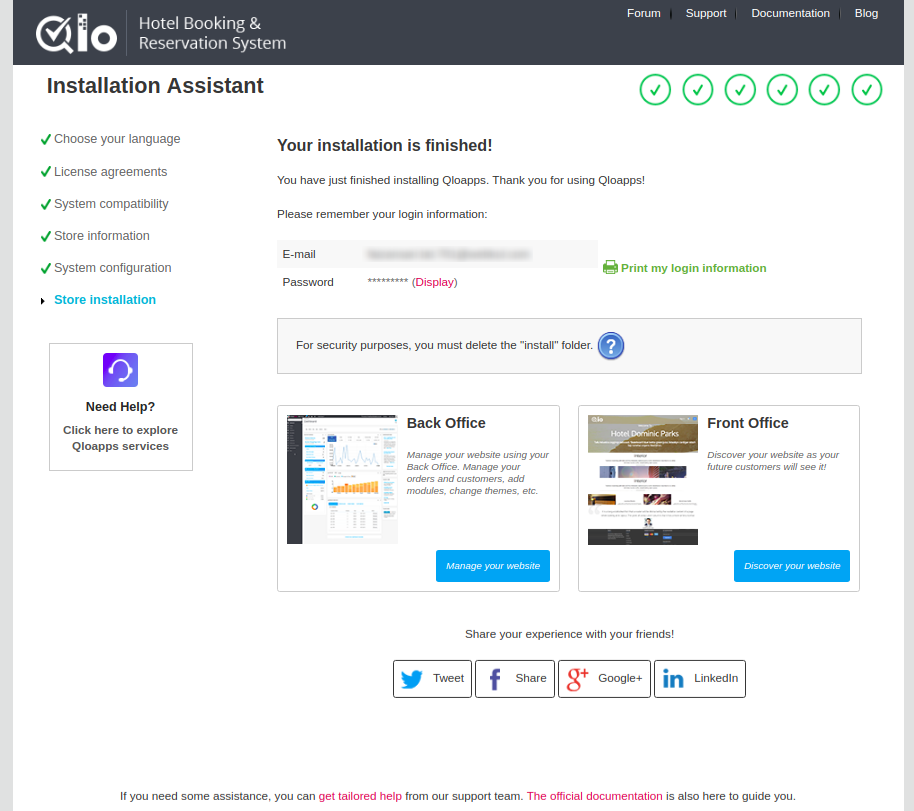
6. Store Installation
Now the QloApps will start installing on your server.
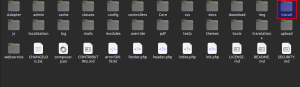
After your installation is completed, now delete the “install” folder from your server your FTP or cPanel.
Yippee! The installation is finally complete, and the website has successfully launched.
Now, click on the “Manage your store” button which will take you to the administration panel from where you can start uploading your hotel data.
After the installation is completed make sure you have deleted the install folder.
- Please go to the file structure of the QloApps folder

- Delete the install folder
- Now, find a folder whose name starts with Admin
- In the URL please use the name of this folder to access the back office.
Ex: www.website.com/adminfoldername

You have installed QloApps and now you will need to set it up. For the complete guide on how to setup QloApps and extract the most out of it visit: https://qloapps.com/qloapps-detailed-description/
Support

We aspire to serve the hotel industry with our product QloApps and in that process we have taken a step forward by launching the QloApps Forum. So please raise any of your issues on our Forum.
For any kind of technical assistance, just raise a ticket.
Current Product Version -
Supported Framework Version -

Raise a ticket through our Contact Us form.
With default QloApps admin can upload his hotels from the backend. But if you need other hoteliers to list and sell their inventory on your website then you must consider QloApps Marketplace.
Required PHP parameters
SOAP extension is not loaded
Recommended PHP parameters
Mcrypt extension is not enabled
https://webkul.uvdesk.com/en/customer/create-ticket/
The error maybe because of the server incompatibility. So check whether your server is compatible or not. And if still there is an issue then raise you issue on the forum: http://forums.qloapps.com/
Yes, QloApps is completely free and opensource. And please a ticket to discuss the rest.
https://webkul.uvdesk.com/en/customer/create-ticket/
“SQL error on query All parts of a PRIMARY KEY must be NOT NULL; if you need NULL in a key, use UNIQUE instead”
Do you have a work around / fix available?
THANK YOU
Yes, it is fixable.
Please follow this link http://bit.ly/2PNAKyx