We gladly bring you the QloApps Google Calendar Sync add-on. This add-on will connect your hotel booking website to Google Calendar.
This add-on will help you to keep track of your bookings on Google Calendar.
You will be able to see which room type or room is booked, checked in, or checked out on a particular date on the Google Calendar interface.
This addon will also create an event on the customer’s Google calendar when he creates a booking on your website using his Gmail account.
Then he will keep receiving reminders from Google Calendar for his bookings.
Note:
1) The event will only be created on the Customer’s Google calendar when he uses his Gmail account to make the booking.
2) Events will only be created for the bookings whose checkout date is not passed.
So let us check out what are the features of this add-on and how this add-on works.
Features
- Create separate Calendar for room types on Google Calendar
- Create a separate Calendar for a room on Google Calendar
- Bookings are created as Events for both Admin and Customers
- Delete old calendars created for room types and rooms
- Automatically create events to Synchronize the bookings on a particular time interval with the help of Cron
- Shows the status of booking on Google Calendar
- Hotel details like Location, Name, and Email and Number displayed in booking details
- The booking Date, Check-in date, and Checkout dates are mentioned in the booking details on Google Calendar
- Room details also are shown in booking details in the Google Calendar
- Event created for both Admin and Customers
Prerequisites Of Installation
Before you install the QloApps Google Calender addon you must make a few changes in the core for the proper functioning of the module.
For QloApps version <= 1.6.0 you need to add the below hooks in the core files of QloApps
At path hotelcommerce/controllers/admin/AdminOrdersController.php
Add the hook code below inside the function ajaxProcessEditRoomOnOrder, after the call to $this->sendChangedNotification(). line number 6213
Add hook code below at line: 6213 (may vary)
    $this->sendChangedNotification($order);

    Hook::exec(
        'actionHotelRoomBookingUpdateAfter',
        array(
            'id_order' => $id_order,
            'id_room' => $id_room,
            'date_from' => $new_date_from,
            'date_to' => $new_date_to
        )
    );

    die(json_encode(array(
Installation Of QloApps Google Calendar Sync Addon
The installation of any module is very simple in QloApps.
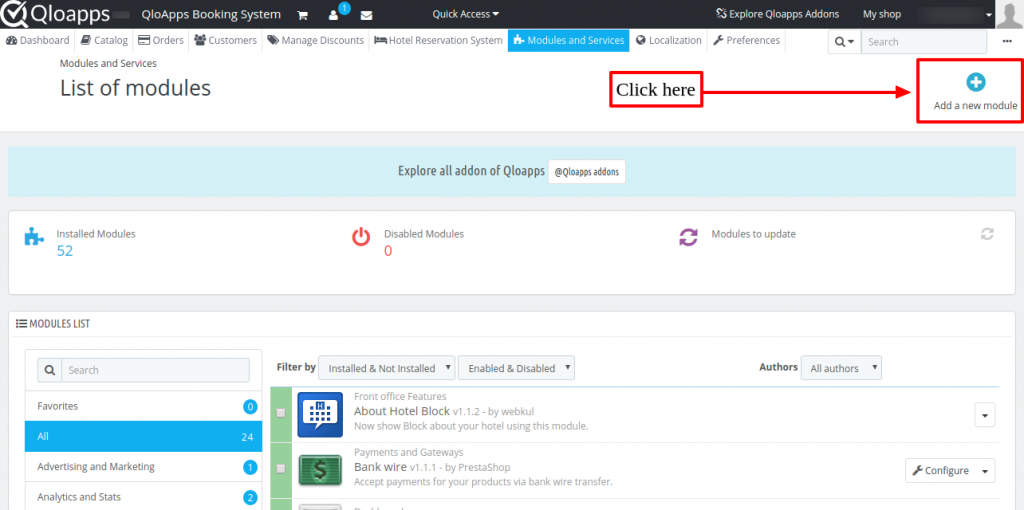
- Go to the “Module and Services” tab.
- Click on “Add New Module”.
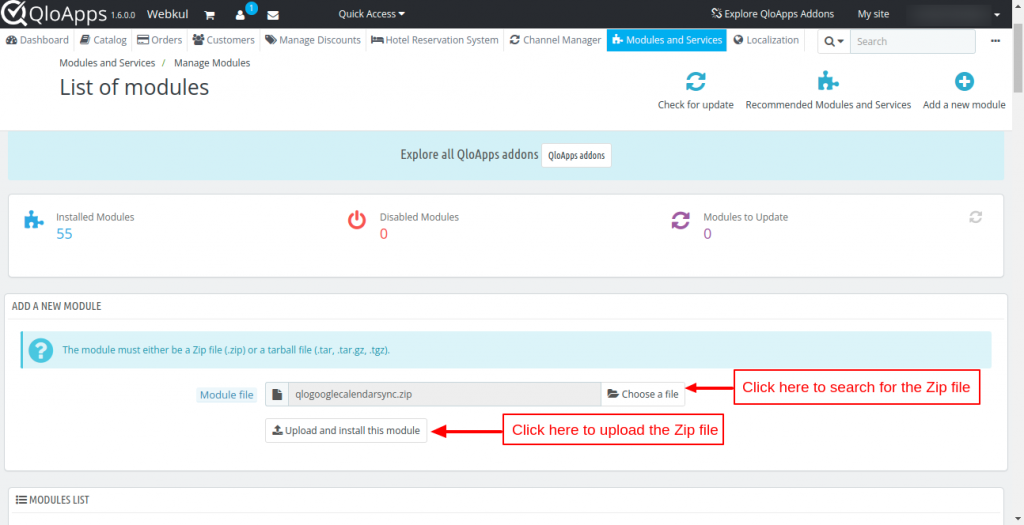
Click on choose a file and upload the zip file of the module.
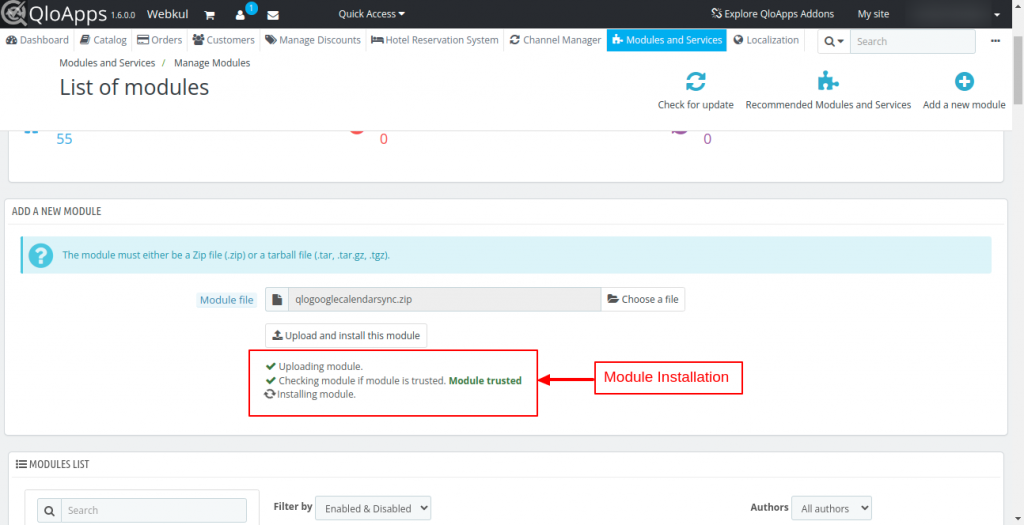
After uploading the ZIP file the module will start installing automatically.
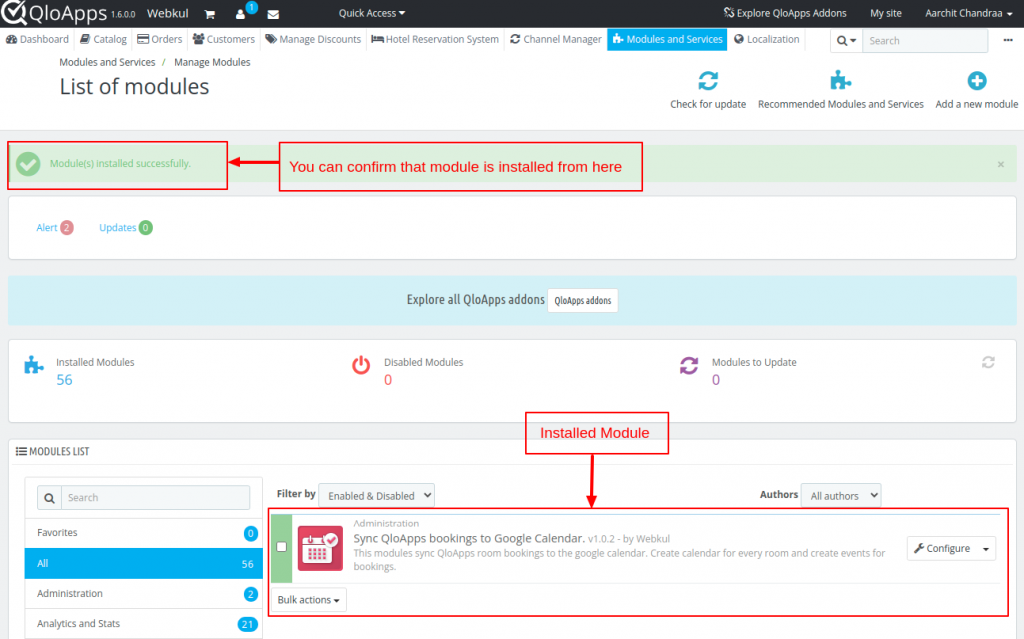
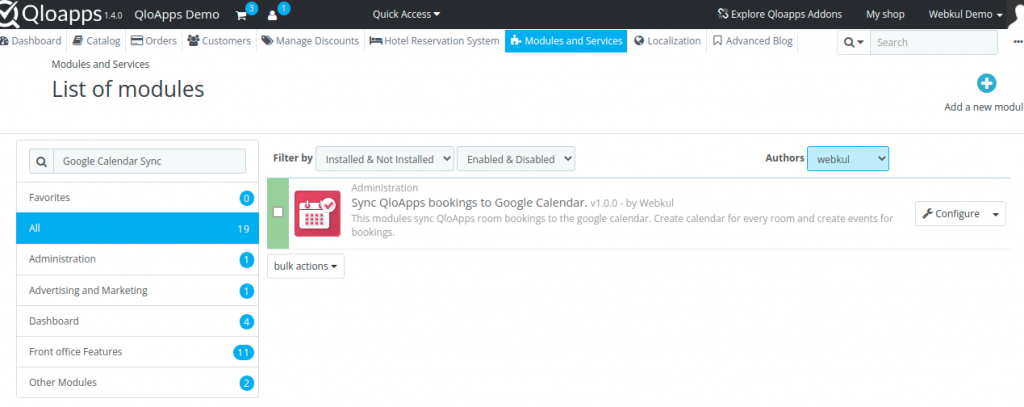
After the module is installed, the user can see the prompt for successful installation and the installed modules will be listed below.
Once you install the module then you can configure it easily.
Configuration Of QloApps Google Calendar Sync
Configuring this module is very simple. Once you have successfully installed the module you will have the following configuration page.
When you click on configure then the configuration page will appear.
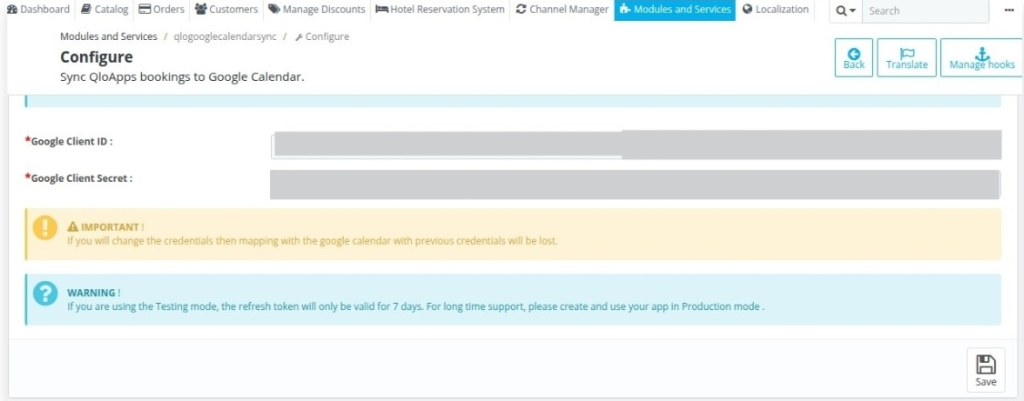
The first thing that we need to configure this module is Google Credentials. So first let us see how we can create these Google Credentials.
How to create Google Credentials
To create Google credentials go to Google Cloud.
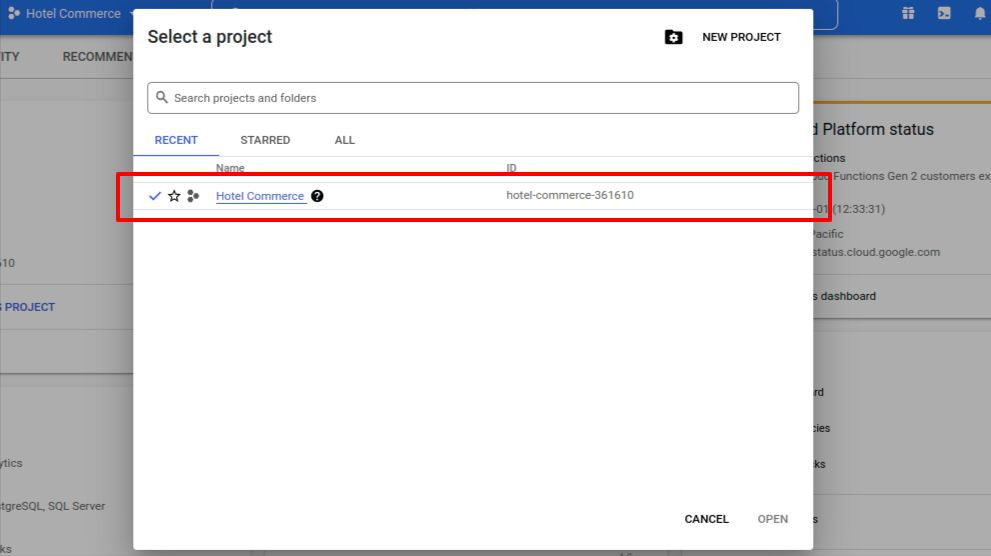
Then the below-given window will appear. After this, you will create a project.
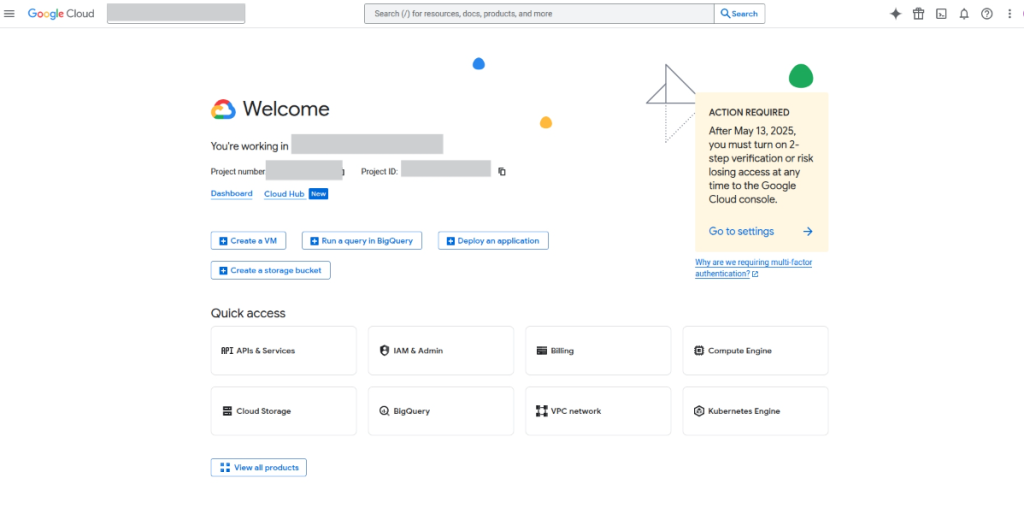
From here you can select a project or create a new project. To create a new project click on “New Project”.

The new project window will appear. Here enter the project name and from “Location” select the location from the dropdown. Then click on the “Create” button.
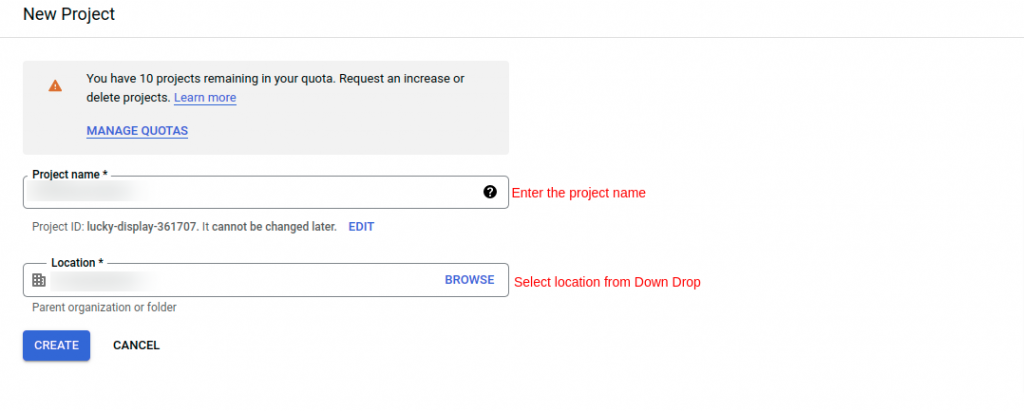
Hence your project is successfully created. Here you will get the newly created project in the list.
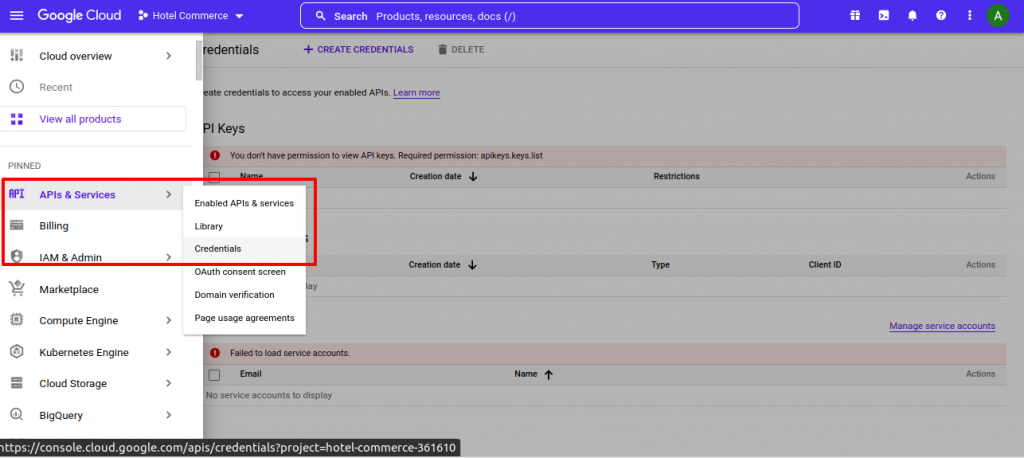
After creating the project user will create the credentials for the project. For that go to the main menu> API and services>Credentials.
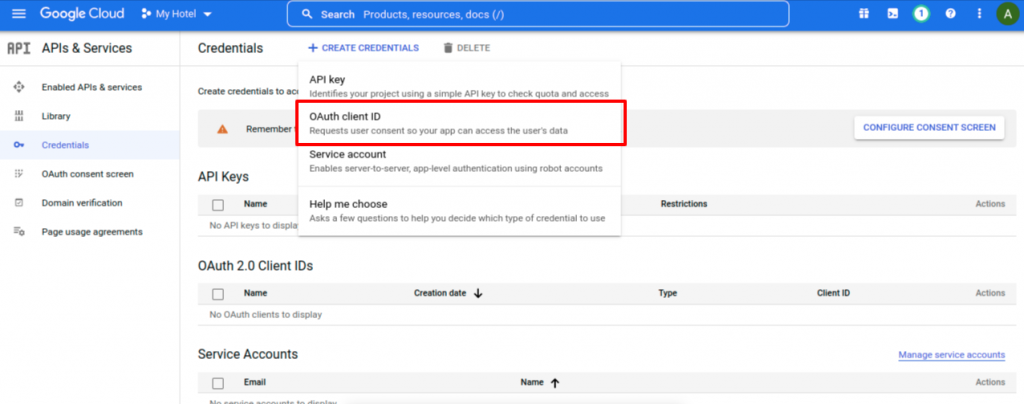
Then from credentials go to “Create Credentials“. Then select the “OAuth Client ID”.
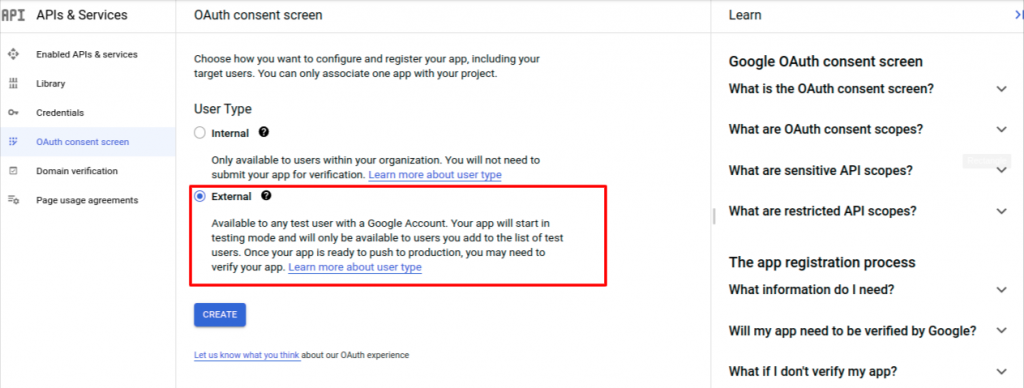
Before creating a credential you have to configure your consent screen. For this click on “Configure Consent Screen“.

After doing the above process the below window will appear. Here select the user type as “External“. After that click on “Create“.
After this, the user will fill in the details of app information, app domain, and app authorized domain.
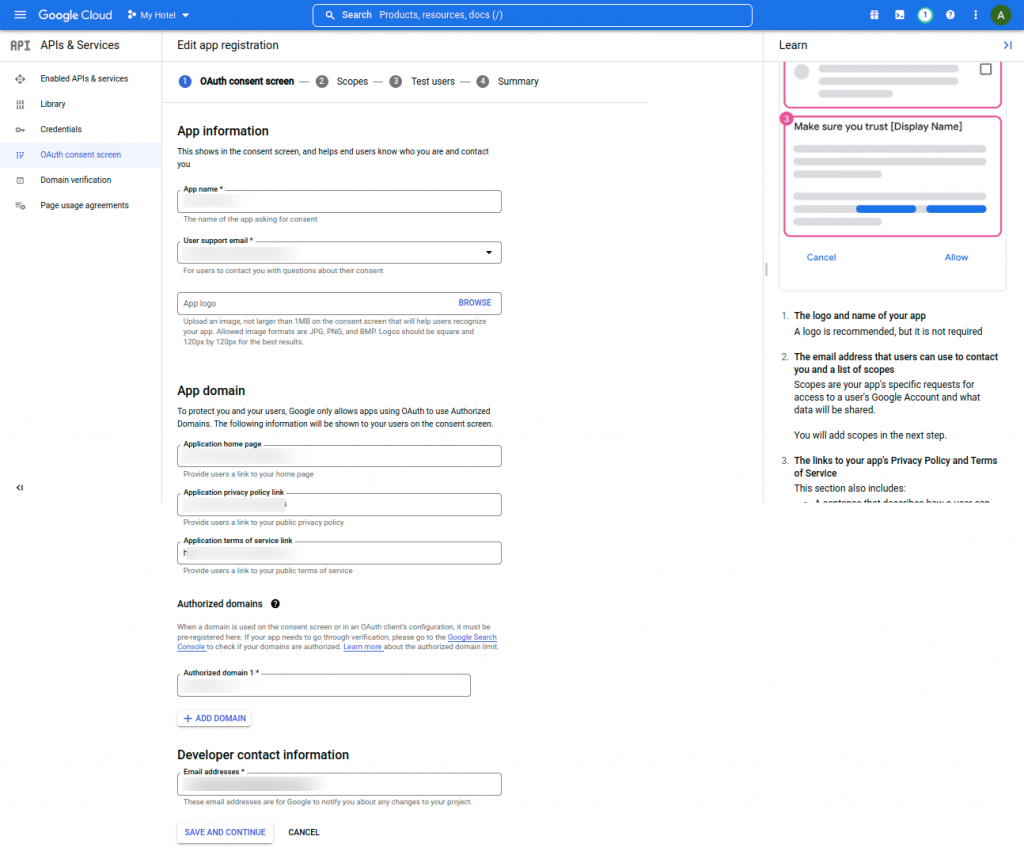
Then click on save and continue. Click on “Save and Continue” till the summary step. After that, the credential page will appear.
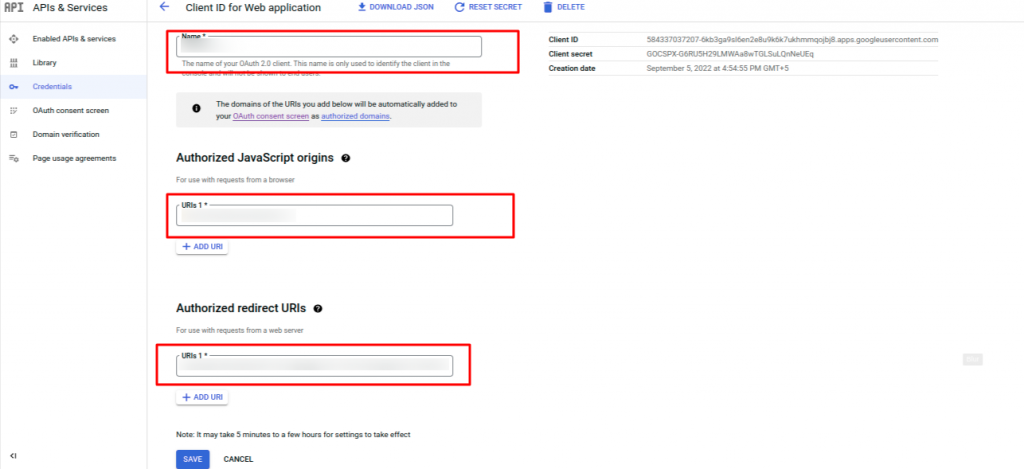
Users will get the “Authorized JavaScript origins” and “Authorized redirect URIs” from the QloApps module configuration page.
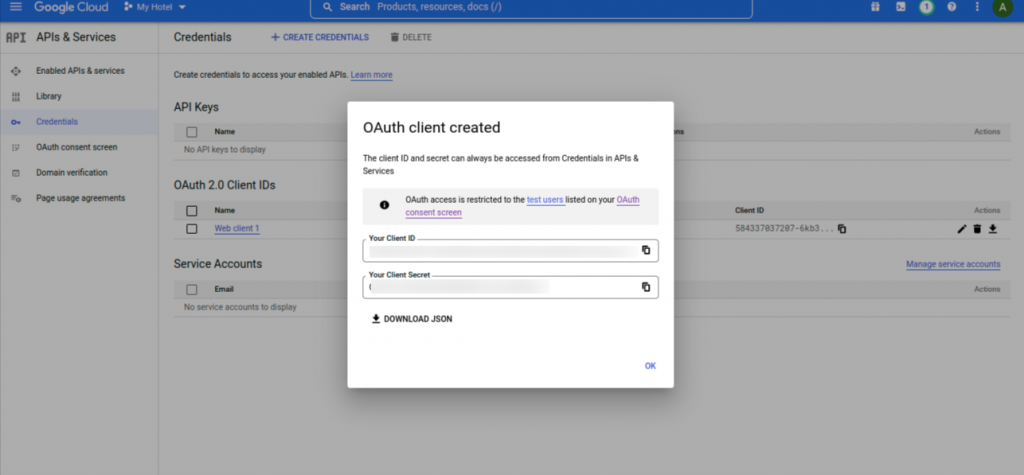
After entering the above field click on “Save“. Hence the credentials will be created. From here you can get the credentials and configure your QloApps Google Calendar Sync module.
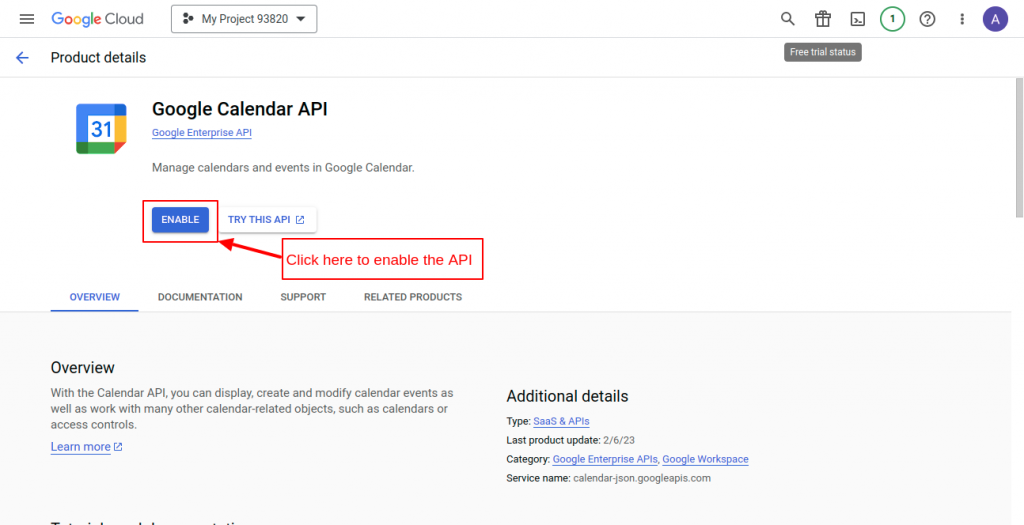
Google Calendar API
Click on enable button to enable the Google Calendar API
Module Configuration
Now, we have the credentials so we can finally configure the module.
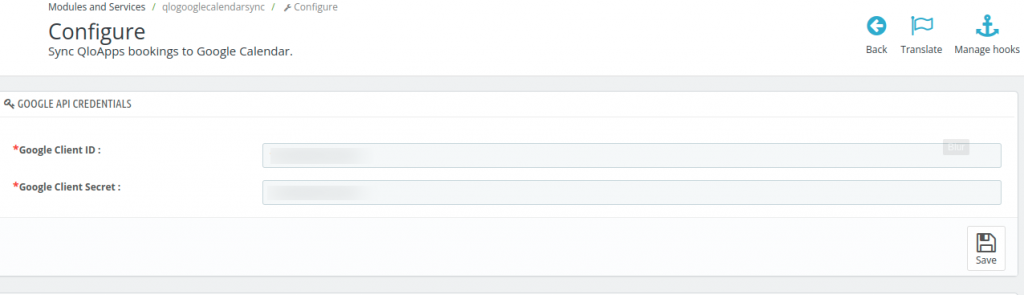
Google Client ID: Enter the client ID that is associated with the project. Now You can get a client ID from the Google Cloud Console as shown above
Google Client Secret: Enter the client secret key associated with the project. Now You can get a client secret key from the Google Cloud Console as shown above.
Now Click on “save”. After this go to the panel Google Calender Sync setting. Here you can do the following settings:
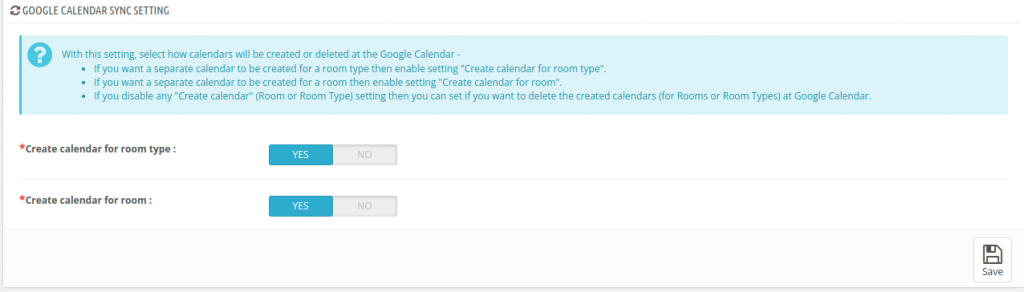
With this setting, select how calendars will be created or deleted in the Google Calendar:
- If you want a separate calendar to be created for a room type then enable the setting “Create a calendar for room type“.
- If you want a separate calendar to be created for a room then enable the setting “Create a calendar for room“.
- If you disable any “Create calendar” (Room or Room Type) setting then you can set it if you want to delete the created calendars (for Rooms or Room Types) at Google Calendar.
Synchronization Workflow
Next, we have the option to finally sync or delete the calendars.
- If you have selected to delete the Calendar of Room types or rooms in the above setting then you will have to click on Delete Google Calendar to make that happen.
- In case if you have selected YES to create Calendars for room types or rooms or both then to create New Calendars for new room types or new rooms, you have to click on Sync With Google Calendars.
- To sync bookings of already created new room types or rooms then also you have to click on Sync With Google Calendar.
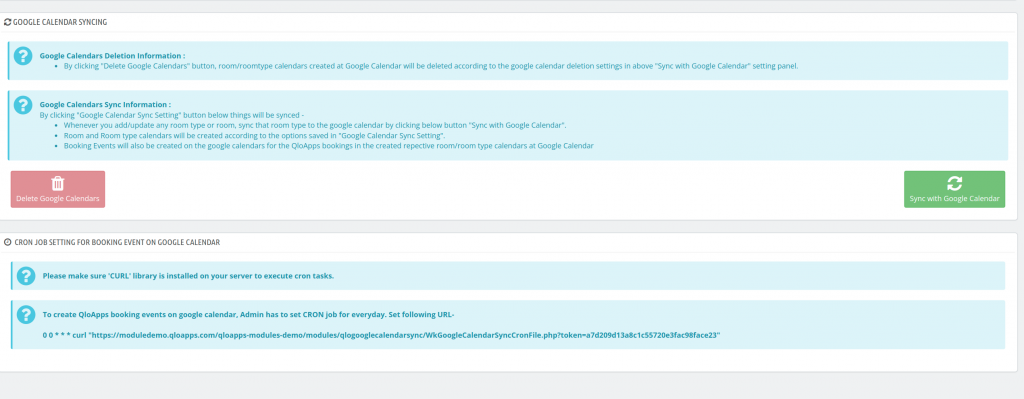
Finally, we have Cron Info. You will have to set the cron on your server to do the synchronization automatically in a particular time interval.
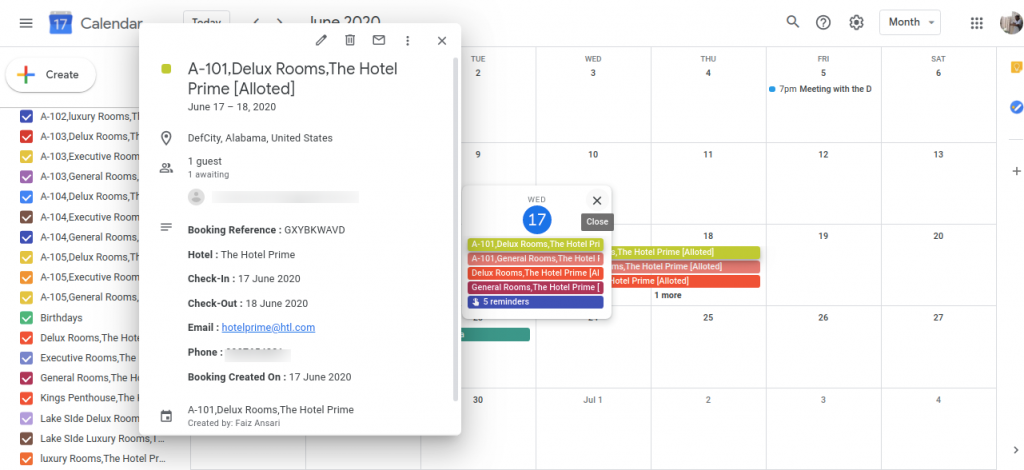
Google Calendar View
After setting up everything, bookings will be shown on the Google Calendar.
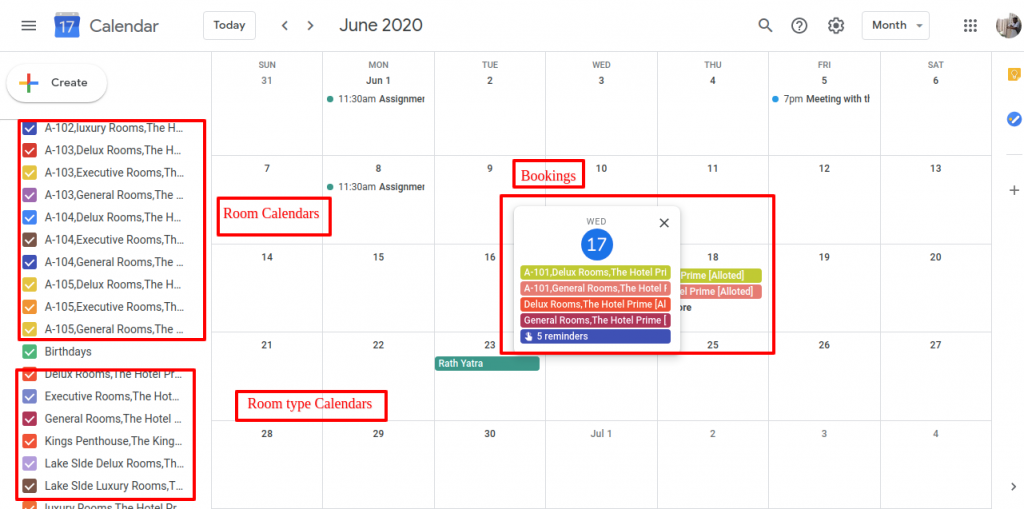
Click on a particular booking to view its details.
Conclusion
This was all from the QloApps Google Calendar Sync. I hope I was able to clarify the functioning of the module for you.
If you want to learn about the functionality of QloApps then you can visit this link: Qlo Reservation System – Free Open-Source Hotel Booking & Reservation System
In case of any query, issue, or requirement please feel free to raise it on QloApps Forum
Current Product Version – 1.0.4
Supported Framework Version- QloApps 1.7.x & 1.6.x

Be the first to comment.